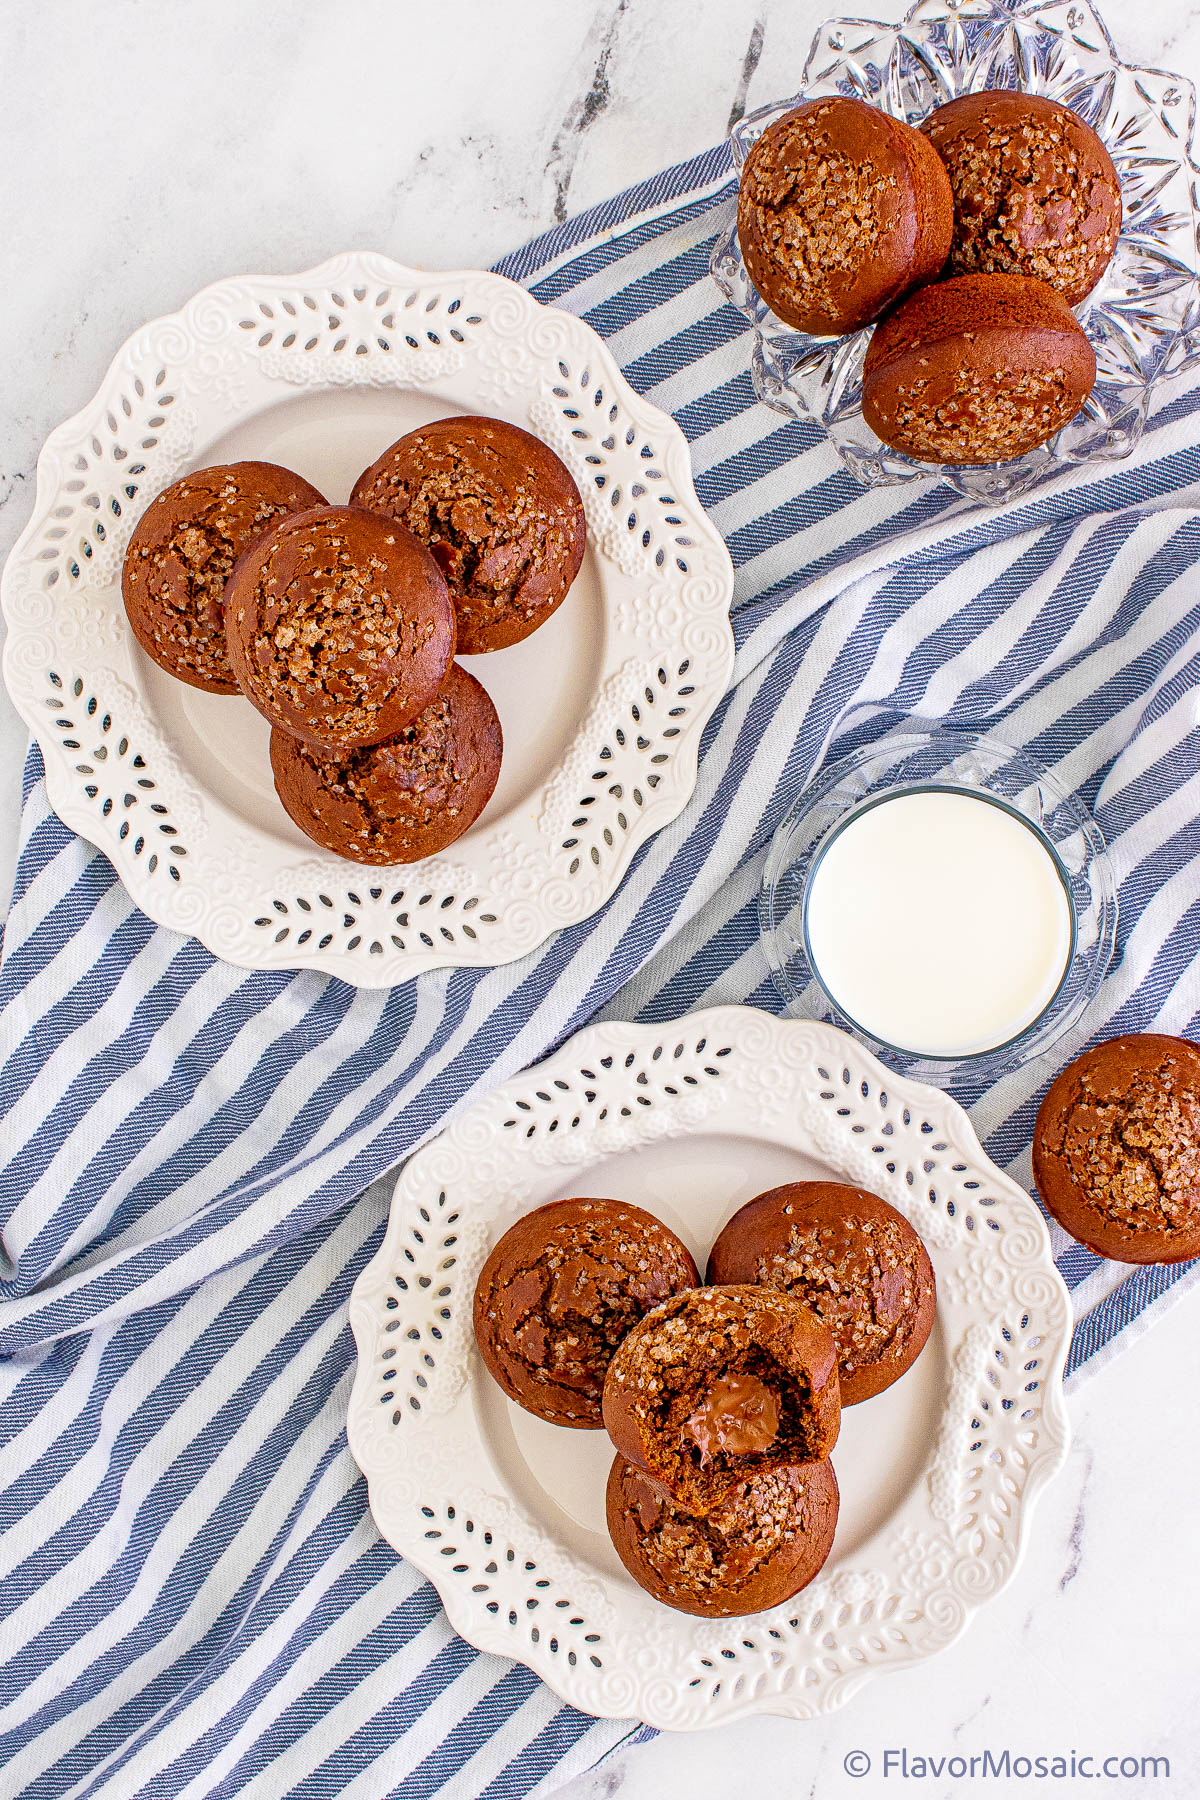
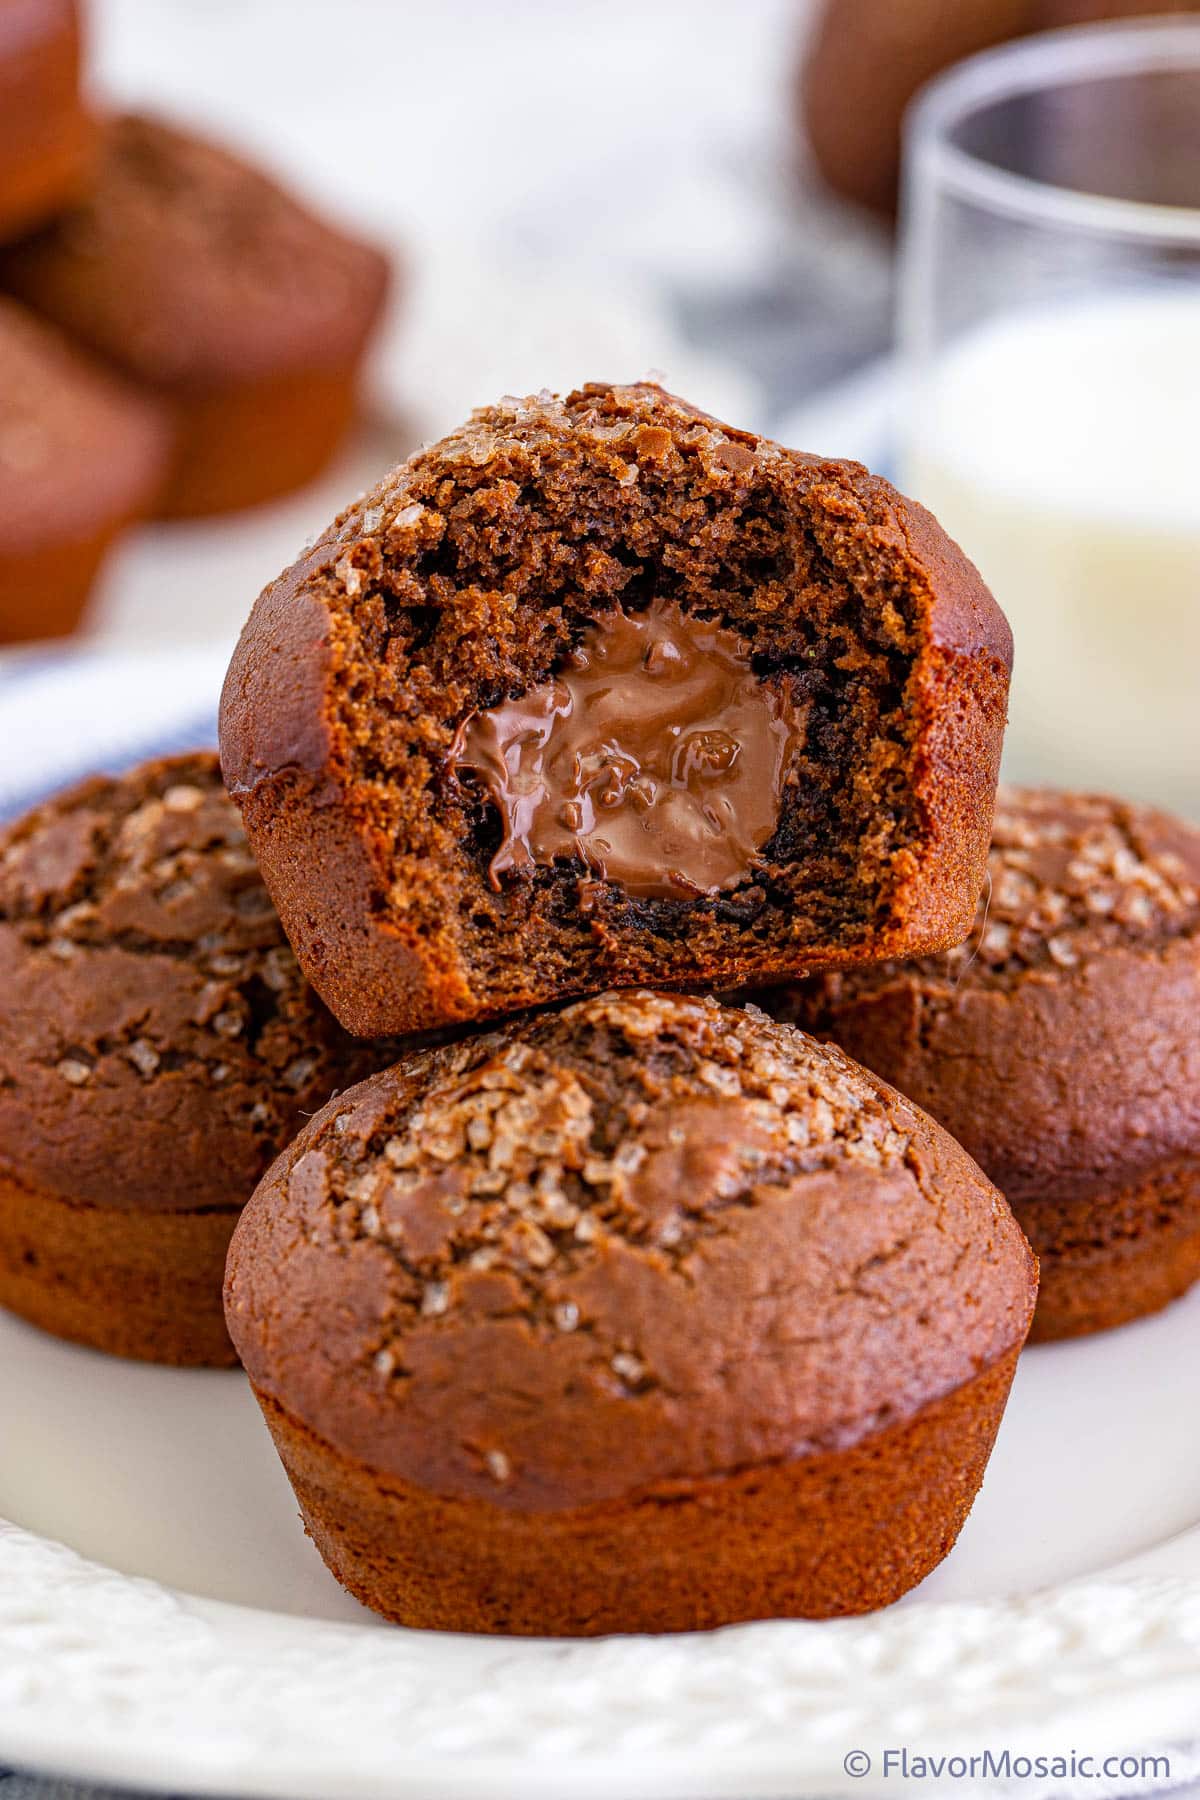
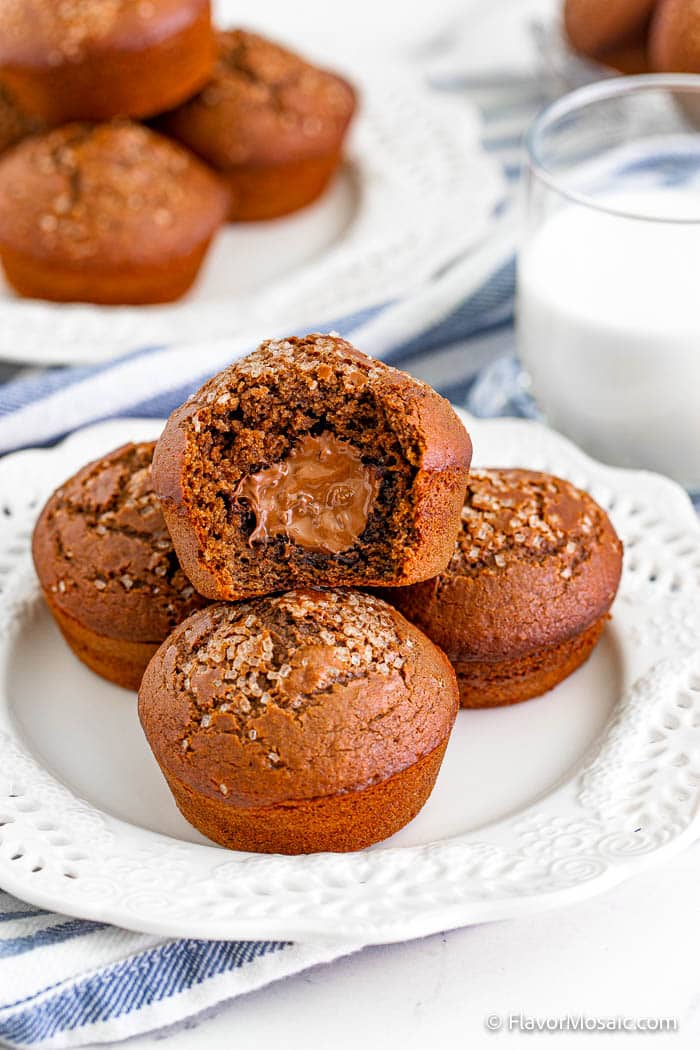
Nutella Stuffed Chocolate Muffins have a decadently rich chocolate flavor with gooey Nutella centers and slightly cracked tops sprinkled with decorators sugar!
These soft and moist chocolate muffins can easily be adapted to include chocolate chips, chopped nuts, and various toppings, from melted chocolate glaze to velvety chocolate buttercream frosting.
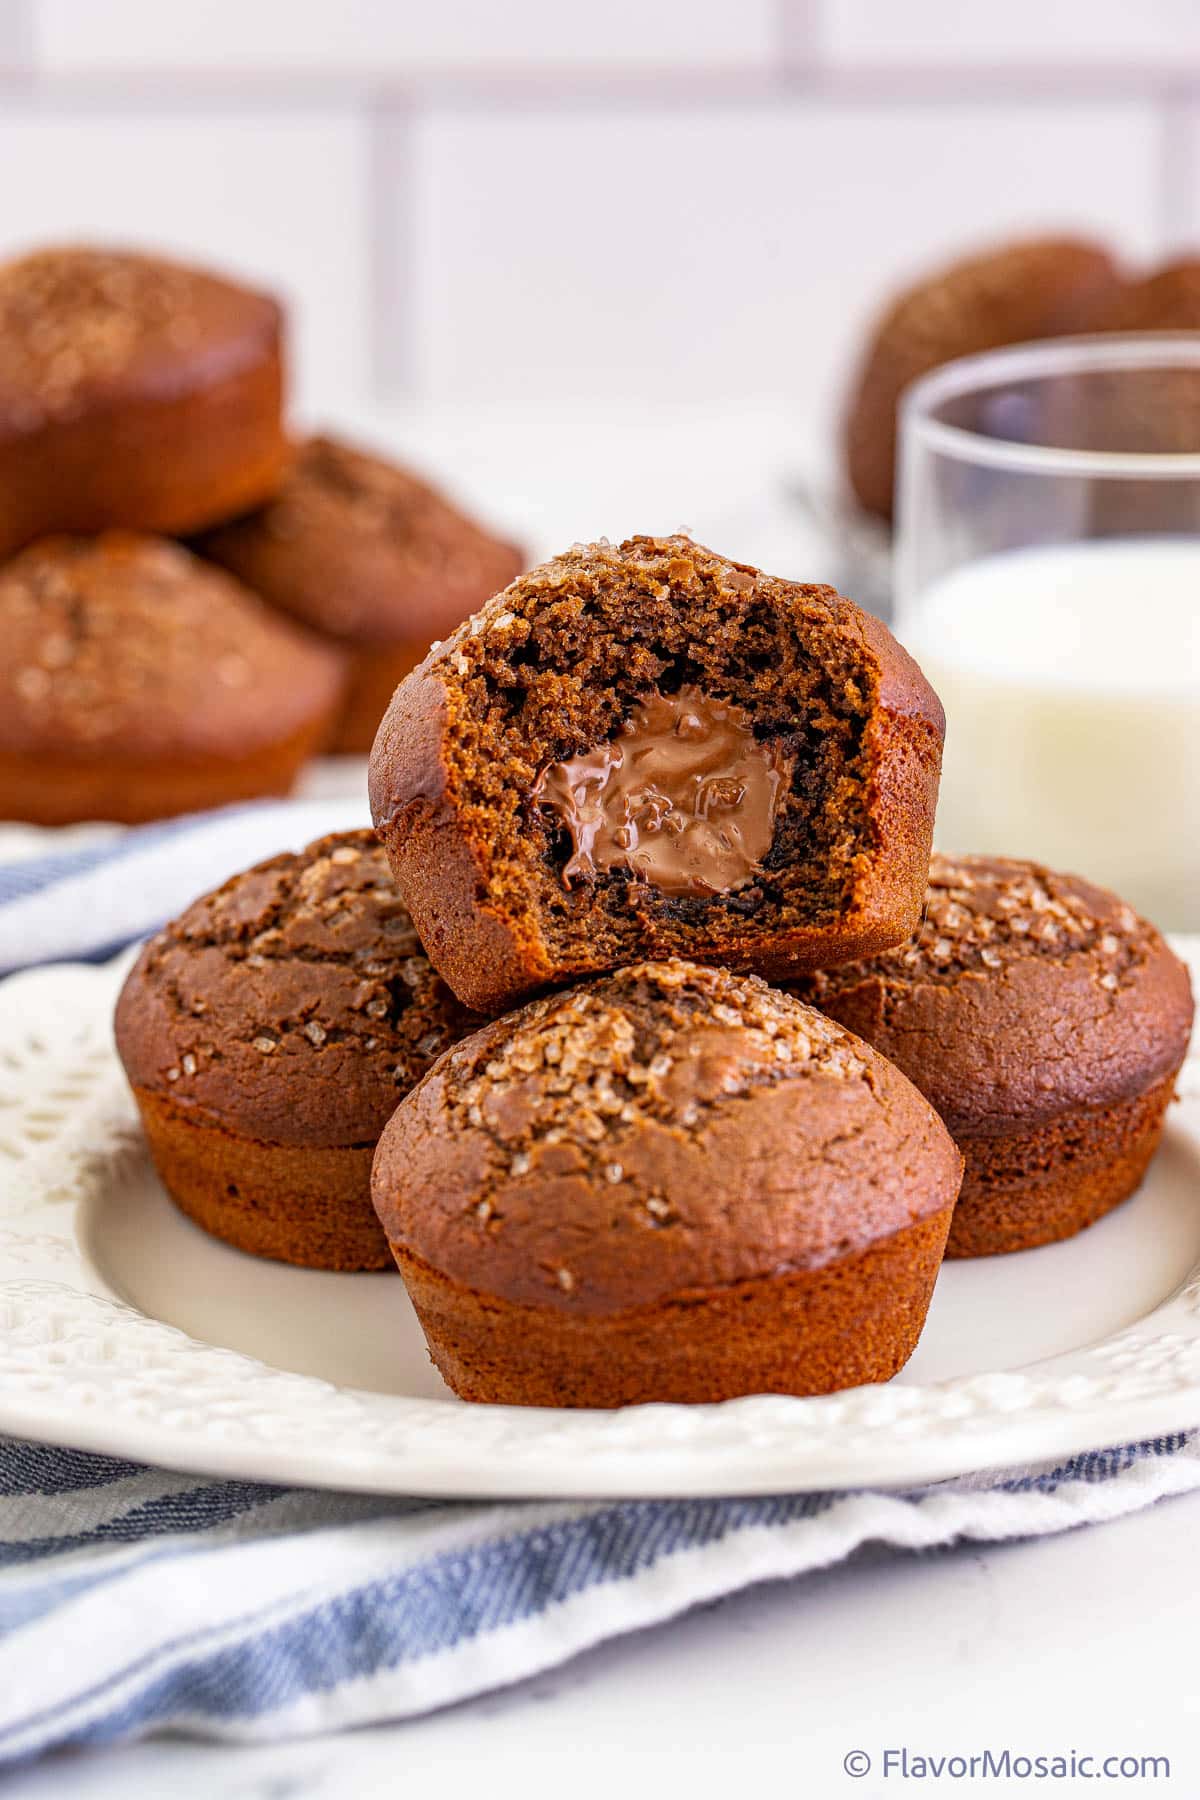
I love these muffins because I can have a chocolatey Dessert Recipe for breakfast! I love sweet muffins, like my Churro Muffins, Blueberry Muffins, and Banana Nut Muffins, and these Nutella Muffins are now one of my favorite Breakfast Recipes, right up there with my favorite cinnamon rolls.
These are perfect for a Valentine’s Day breakfast or Mother’s Day brunch.
Table of Contents
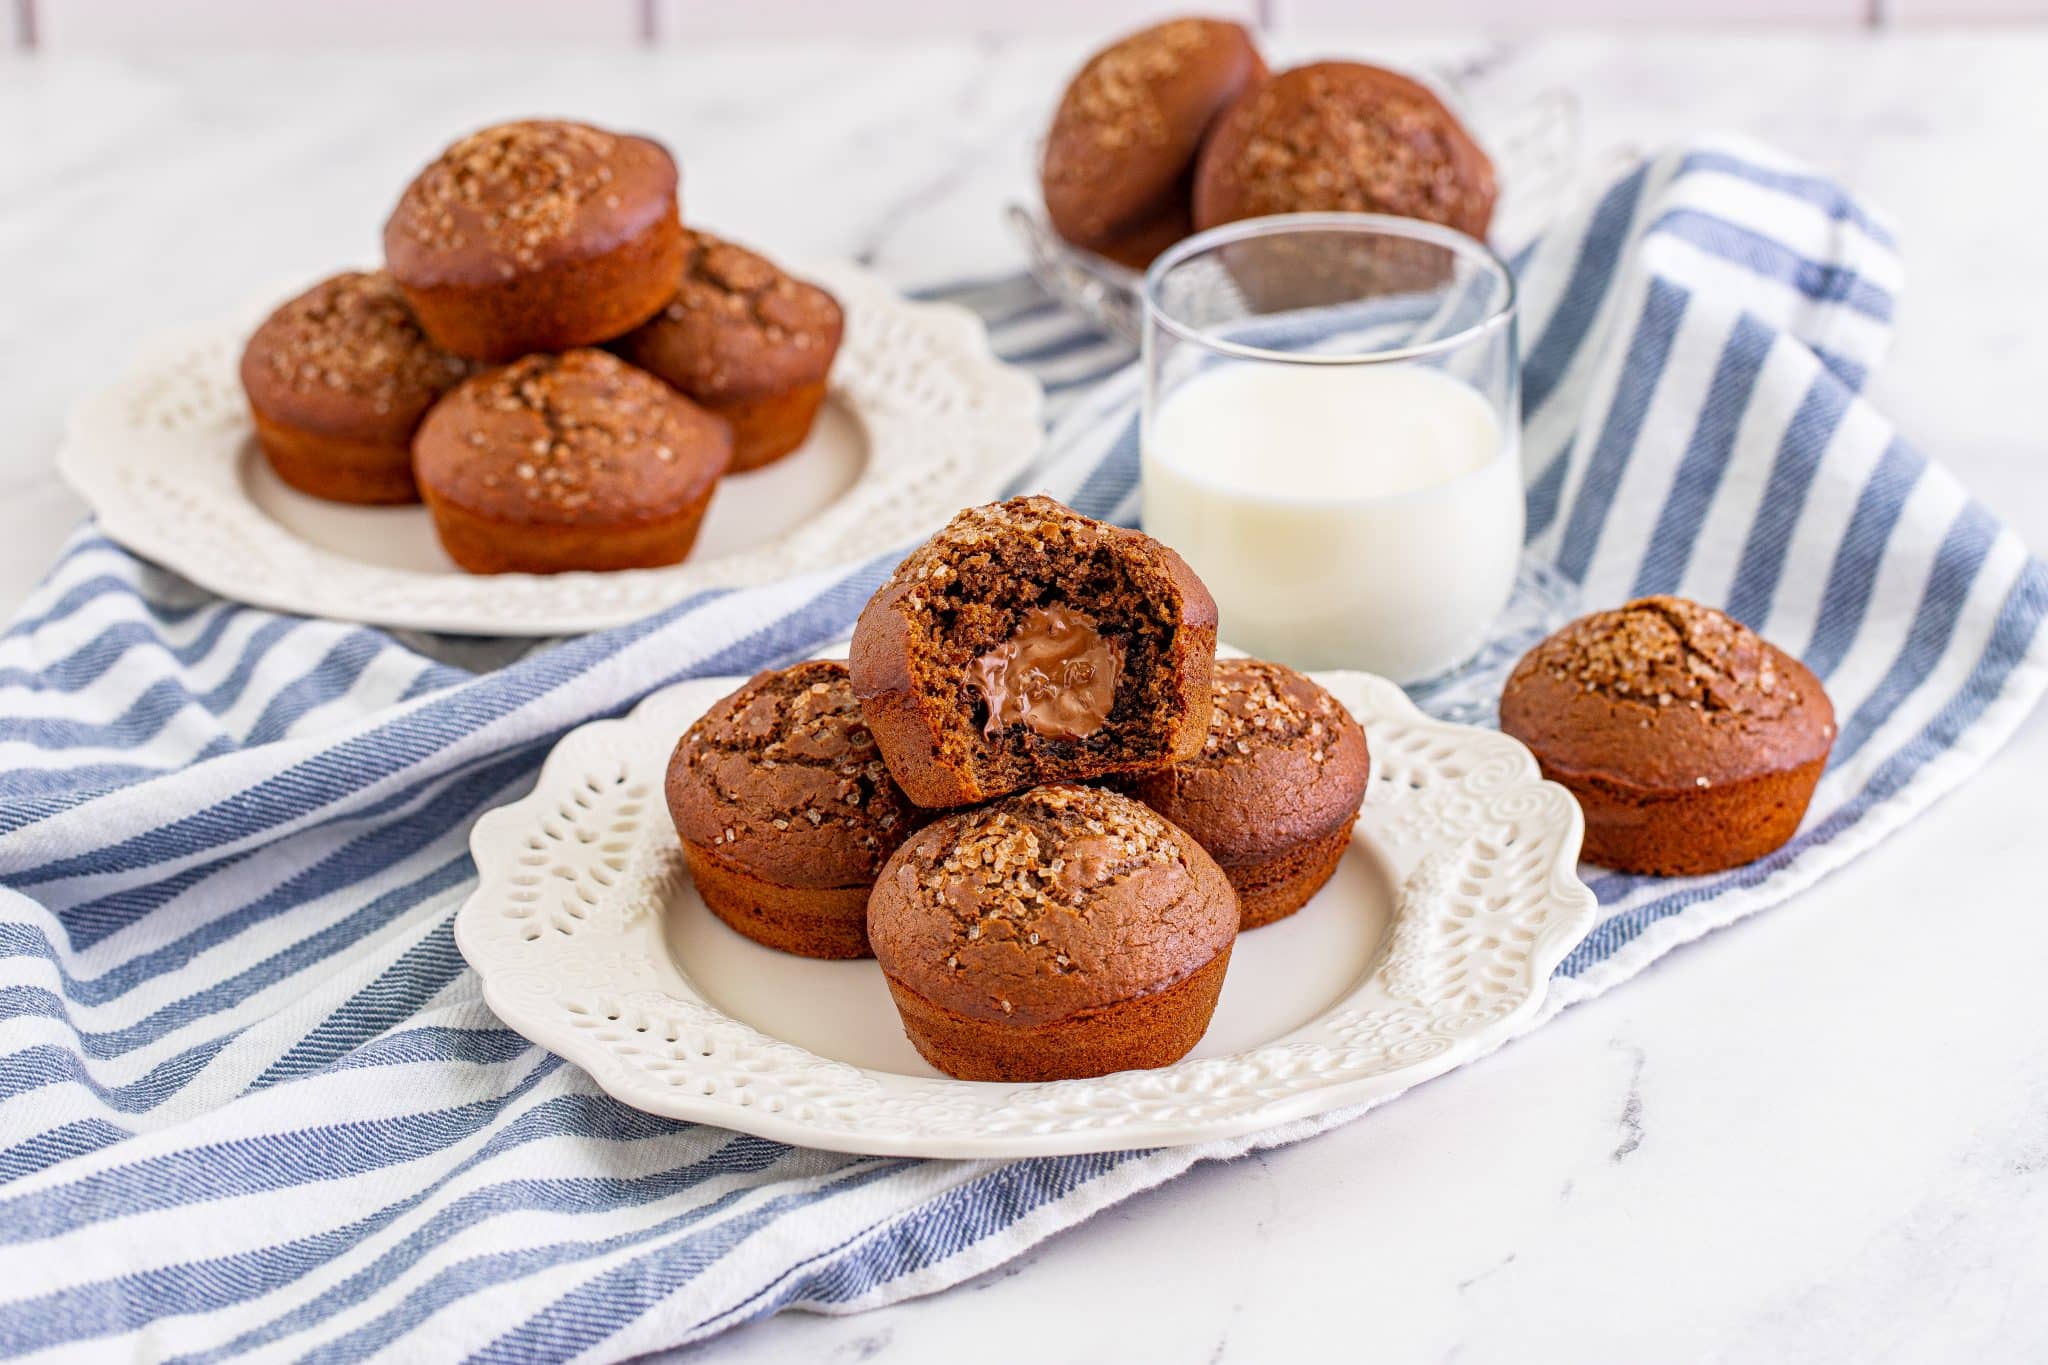
Why You’ll Love Nutella Muffins
- Nutella – The Nutella added to the center of the muffins keeps them moist and adds an extra level of chocolate decadence to these treats.
- Budget-Friendly – These muffins are inexpensive to make, using pantry-staple ingredients that you likely already have if you enjoy sweet treats.
- Chocolate-Alternative – If you’re throwing a party, these Nutella stuffed muffins are a tasty alternative to chocolate cake.
Why This Recipe Works
- Tried and True. This is a tried and tested muffin recipe, allowing me to guide you through straightforward recipe instructions with corresponding in-process images so that there’s zero guesswork on your part!
- Fast. You only need 25 minutes to make these muffins.
- Tips Included. Useful tips and frequently asked questions are added in this recipe post for further clarification, making the recipe a breeze to understand and follow.
- Substitutions & Adaptions. I’ve included a few ways that you could adapt these chocolate muffins with simple recipe substitutions and suggestions. If you have any of your own, share them with me in the comments section!
Equipment
The affiliate links below will allow you to see the product on Amazon.com. If you purchase one of the items, I will receive a very small commission on the product, which does not increase the price.
- Electric mixer
- Large Mixing Bowl / Medium Mixing. Bowl
- Wooden Spoon
- Ice Cream Scoop
- Paper Liners or Cupcake liners
- Freezer bag
- Muffin tin pan
Ingredients
Below, I discuss the ingredients and possible substitutions if you don’t have a specific ingredient. However, if you are looking for the specific measurements of each ingredient, scroll down to the bottom of this article, just above the comments, for the printable recipe card, which includes all the ingredients and the specific amounts of each one.
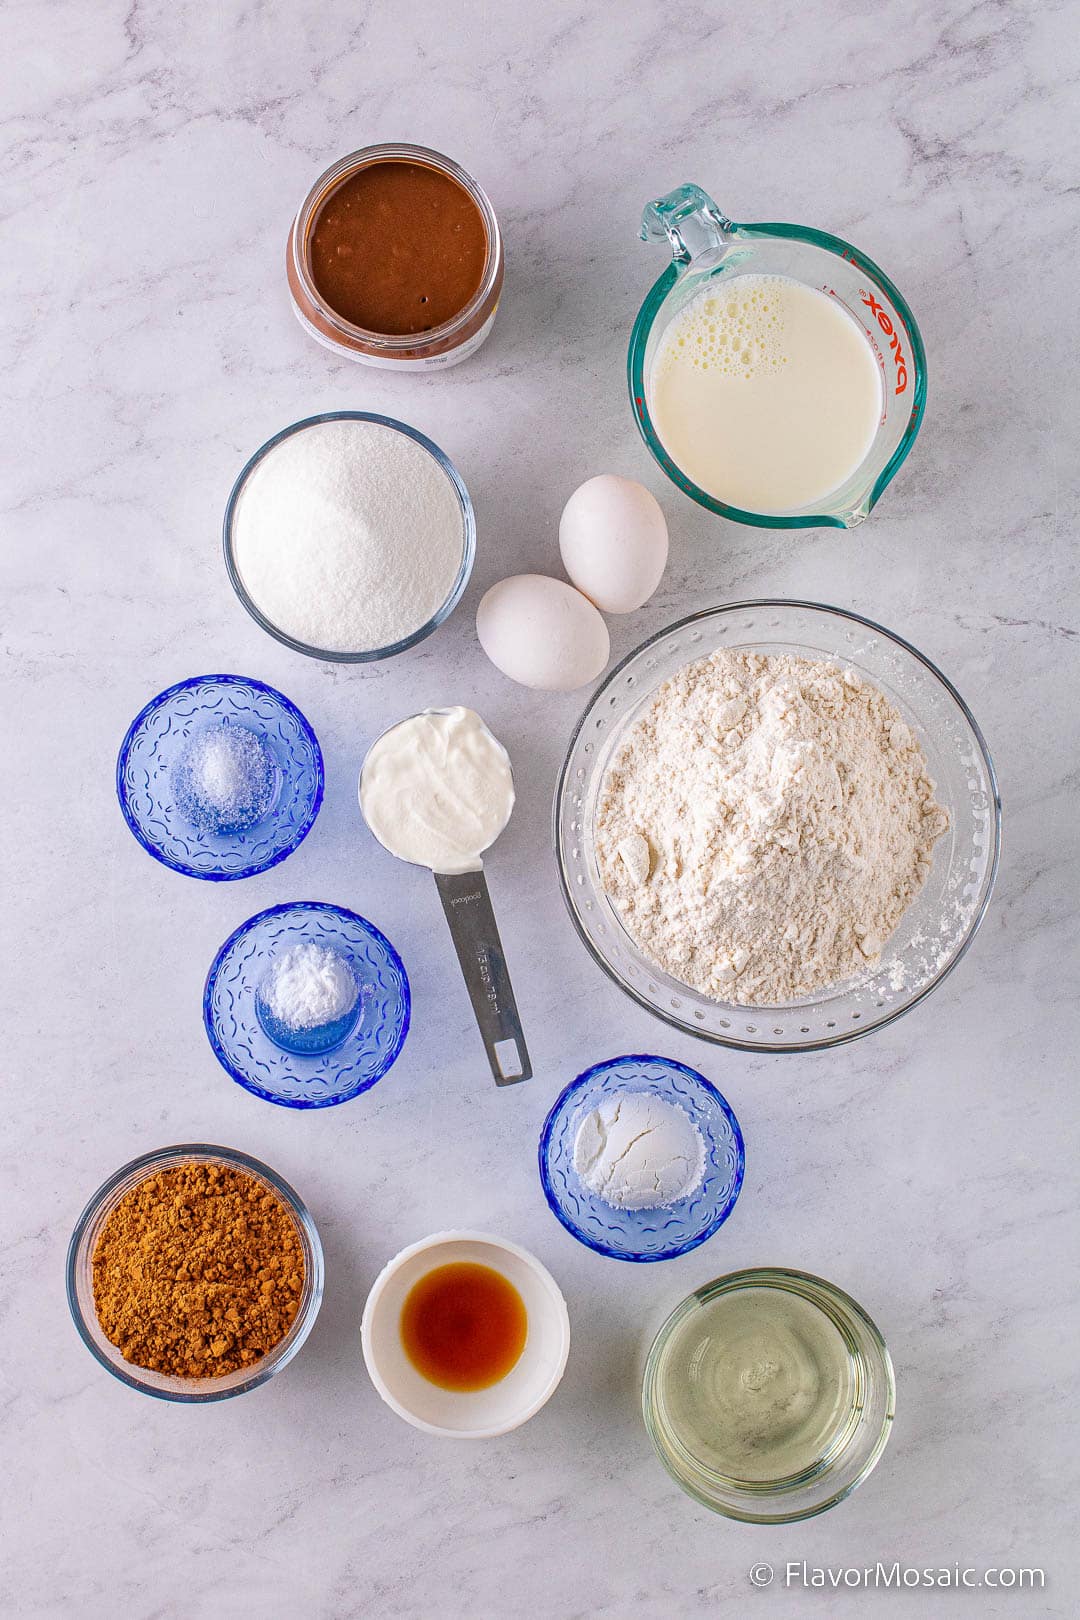
Dry Ingredients
- Flour – I’ve used all-purpose flour for these muffins, but if you need them to be gluten-free, then I suggest using something like King Arthur or Bob’s Red Mill gluten-free flour, which are both convenient measure-for-measure substitutions.
- Cocoa powder – Use sweetened or unsweetened cocoa powder depending on how sweet you’d like these muffins.
- Baking powder and soda – always check for the expiry date on your baking powder and soda, as this can directly impact the outcome of the muffins and how well they rise while baking.
- Salt – A small amount helps to elevate the flavor in these muffins.
Wet Ingredients
- Eggs – it’s best to bring the eggs to room temperature when baking.
- Sugar – I use white granulated sugar in this recipe, but you could use light brown sugar instead – it will give a slightly deeper flavor and add to the moisture in the muffins.
- Milk – I’ve used whole milk, which adds flavor and moisture to the muffins. Low-fat milk can also be used, but it will add less moisture. Buttermilk is another option.
- Oil – Vegetable or Canola oil is typical for baking, but coconut oil (the unscented variety) could also be used. You won’t need to make any quantity adjustments. I don’t recommend using butter as the oil will produce softer muffins.
- Sour cream – This adds a slightly tangy flavor that balances the sweetness in these muffins and cuts through some rich chocolate taste.
- Vanilla – I use high-quality vanilla extract in all my sweet treats for the best flavor.
- Nutella – 1 heaping teaspoon of Nutella, a chocolate hazelnut spread, is sufficient per muffin.
- Decorators’ sugar – Garnish these muffins with decorators’ sugar if you like.
Directions
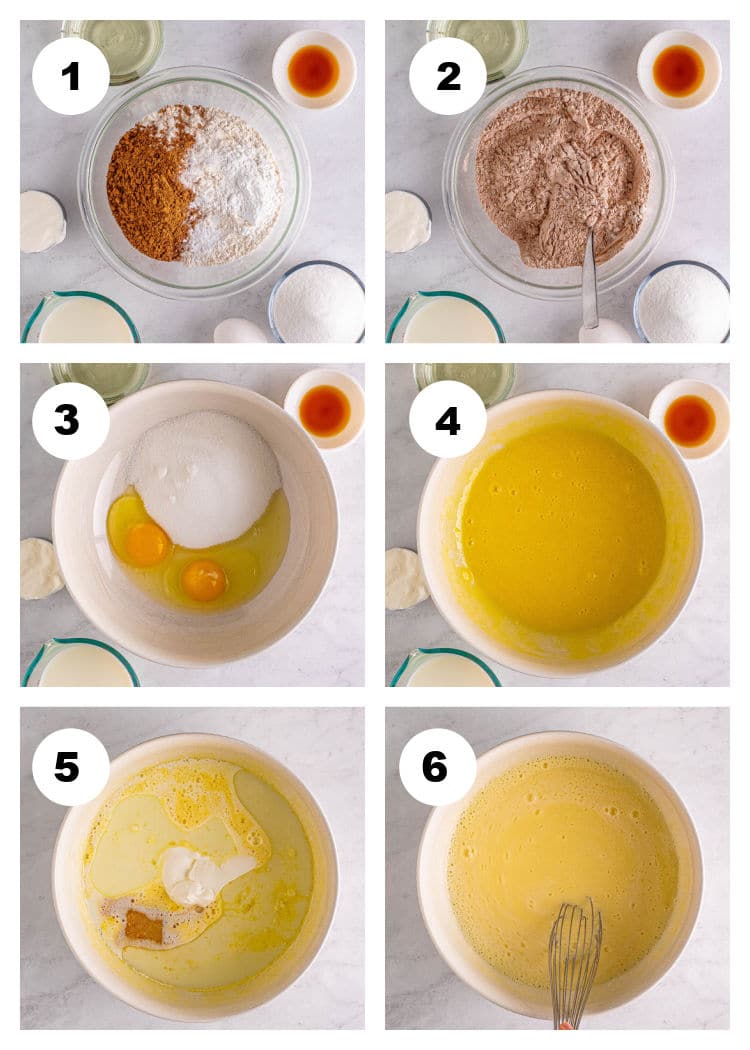
- Preheat the oven to 425°F. Spray 2 12-cup muffin tins with baking spray or add liners, and set aside. (Not shown in photos.)
- In a medium-sized bowl, stir the flour, cocoa powder, baking powder, baking soda, and salt, and set aside. (Photos 1 and 2)
- In a large bowl, whisk the eggs and sugar until smooth. Add the oil, sour cream, and vanilla, and carefully whisk until smooth. (Photos 3 – 6)
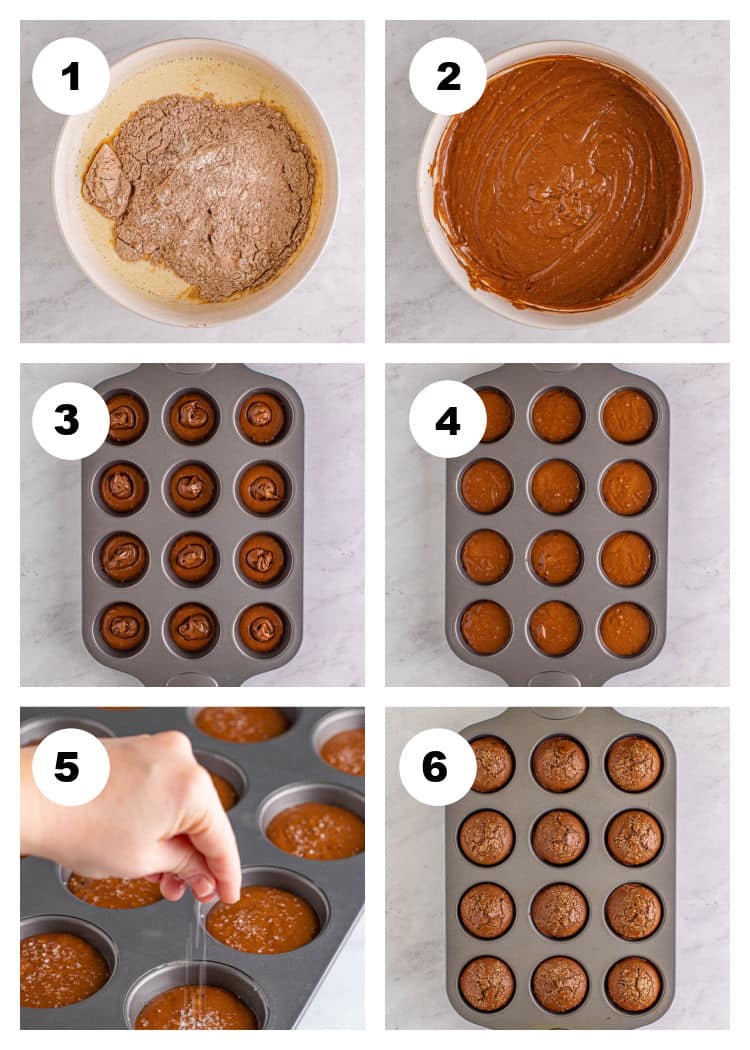
- Add the flour and cocoa mixture to the wet ingredients and stir to combine until there are no dry patches.
- Add 1 and ½ tablespoons of the batter to the bottom of 22 sections of the greased/lined muffin tins. I like to use a 1 & ½ tablespoon-sized cookie scoop for this. Add 1 heaping teaspoon of Nutella to the center of each muffin. Add another 1 & ½ tablespoons of the batter on top. Make sure the batter on top completely covers the Nutella.
- Bake for 5 minutes at 425°F. Lower the oven to 350°F, leaving the muffins in the oven, and bake for an additional 10-13 minutes. The muffins will puff up, slightly crack on top, and appear dry when ready. You can insert a toothpick into the center of the muffin halfway between the center and edge, you may get some Nutella on the toothpick, but the muffin batter itself should come out clean.
- Let the muffins cool in the muffin tin for 5 minutes. Take them out and let them cool completely on a wire rack.
Pro Tips
- Don’t Overstir – As with any other muffin recipe, over-stirring the muffin batter will result in crumbly (and possibly rubbery) muffins. You only need to stir just until the flour is incorporated; no more.
- Gluten-Free Tip – If you’ve opted to make these Nutella stuffed chocolate muffins gluten-free with your choice of gluten-free flour, just be aware that it’s normal for the muffins to require additional baking time than what’s called for in this recipe. You can always test the muffins by inserting a toothpick into them, which should come out clean if cooked through. Insert the toothpick into the side of the muffin as the center is filled with gooey Nutella.
- No Air Pockets – To reduce the possibility of air pockets in the muffin batter, tap the muffin pan gently on the countertop before baking.
- Warm or Cool – These chocolate muffins can be enjoyed warm or once completely cooled.
- Double It – You can easily double the recipe if you prepare for a party and have enough muffin pans.
- Oil – I’ve used oil in this recipe to make these muffins soft. I don’t recommend substituting it with butter.
Variations
- Gluten-Free – I’ve only ever tested these Nutella chocolate muffins with all-purpose flour since it’s my choice of sturdy flour for baking. From my experience of making gluten-free baked goods, I believe these muffins will still turn out beautifully when using gluten-free blends such as King Arthur of Bob’s Red Mill.
- Cocoa Powder – For reduced sweetness in these muffins, use unsweetened cocoa powder.
- Shortcut – For added convenience, mix these chocolate muffins with a chocolate muffin mix.
- Keto – Make keto-friendly chocolate muffins using coconut flour, almond flour, unsweetened cocoa powder, erythritol, and unsweetened milk.
- Chocolate Chips – Chocolate chips (any flavor) can be added to the muffin batter for extra chocolate goodness!
- Go Nuts – Chopped nuts are another great add-in to the muffin batter that will create a delicious contrasting texture.
- Sea Salt – Instead of the decorators’ sugar sprinkled on top of the muffins, sprinkle a little flake sea salt on the muffins while they are still warm from coming out of the oven. This will produce a delicious salty-sweet flavor. You can also add salt in addition to the decorators’ sugar.
- Frosted – These muffins can also be topped with chocolate buttercream.
- Peanut Butter Muffins – Use peanut butter instead of Nutella.
- Banana Nutella Muffins – Use a banana muffin mix as a base and stuff it with Nutella.
FAQs
WHAT TO SERVE WITH NUTELLA STUFFED CHOCOLATE MUFFINS?
It’s hard to imagine that these muffins need anything extra but if you plan to serve these chocolate muffins as dessert, consider serving them with whipped cream or a scoop of vanilla ice cream.
WHAT KIND OF TEXTURE DO THESE NUTELLA-STUFFED CHOCOLATE MUFFINS HAVE?
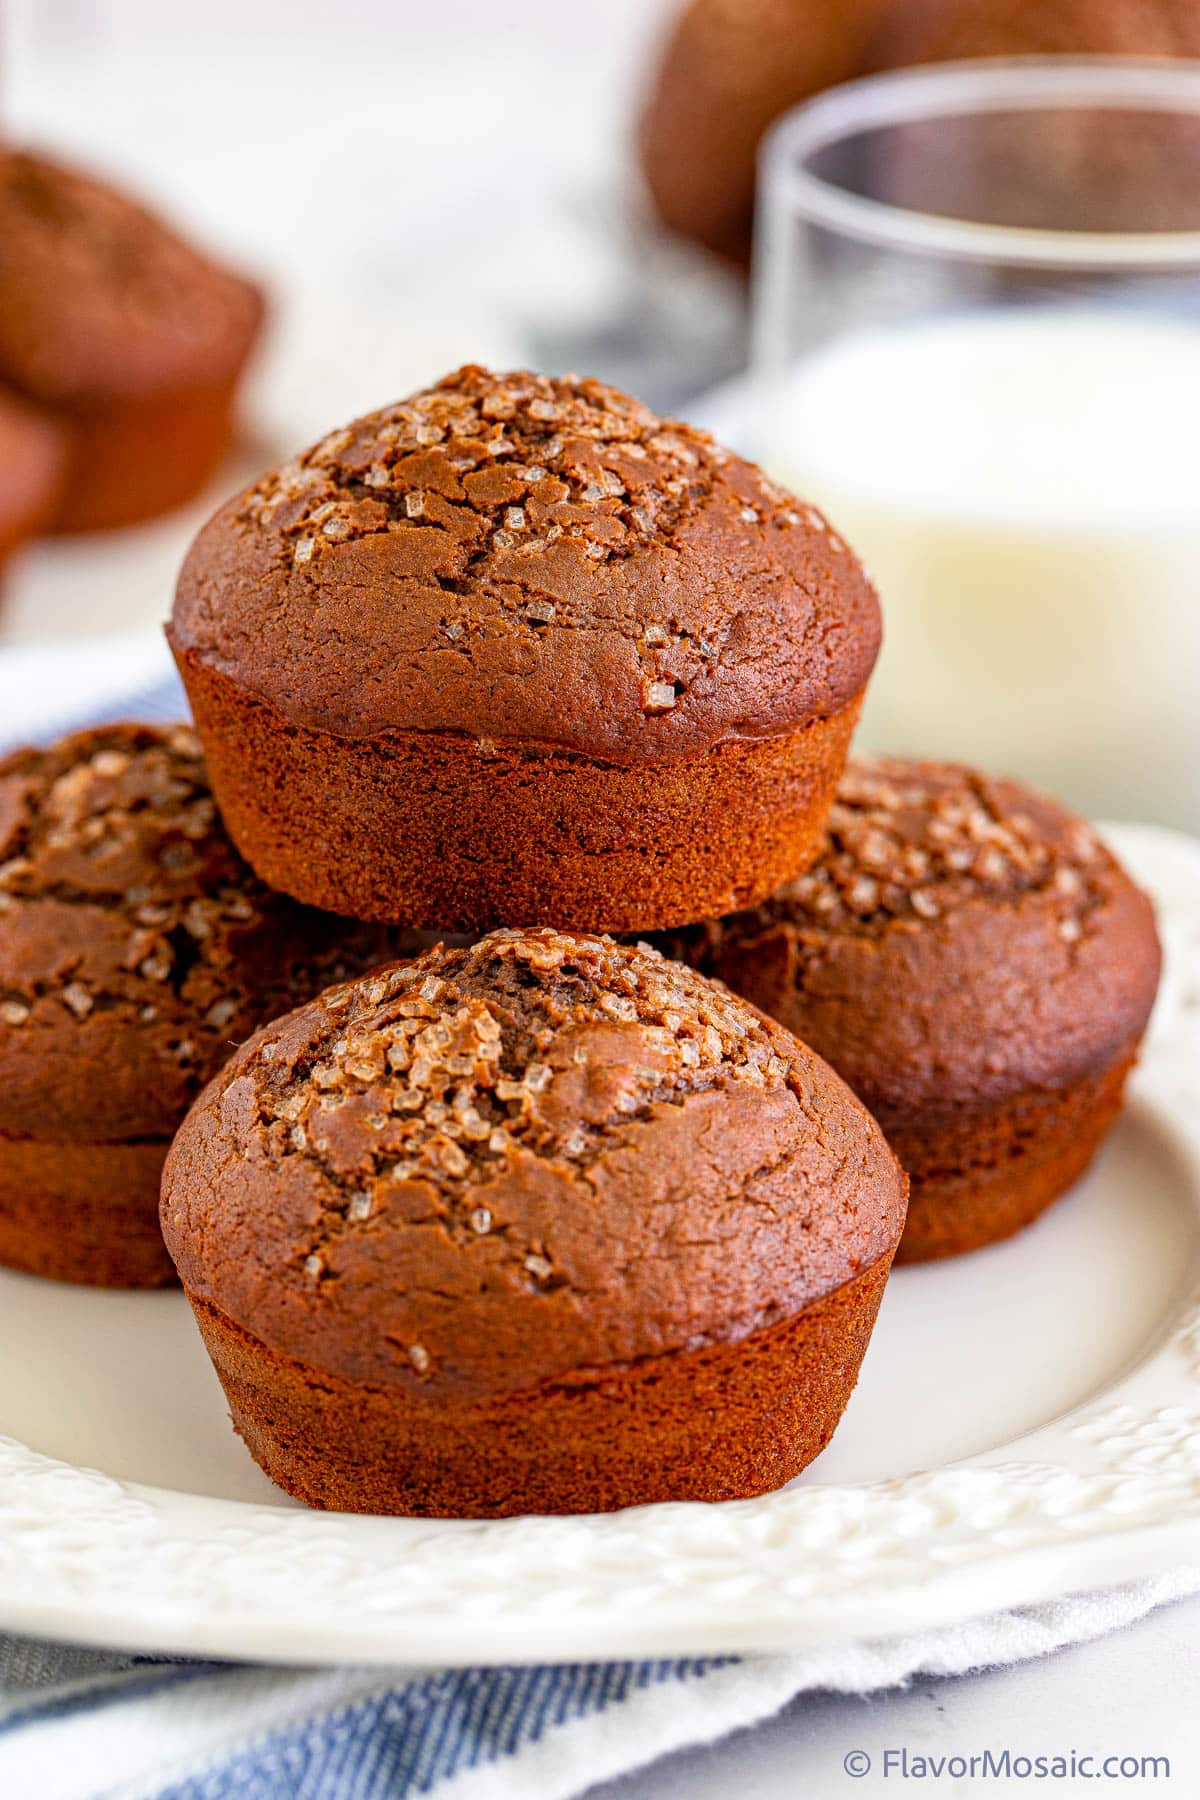
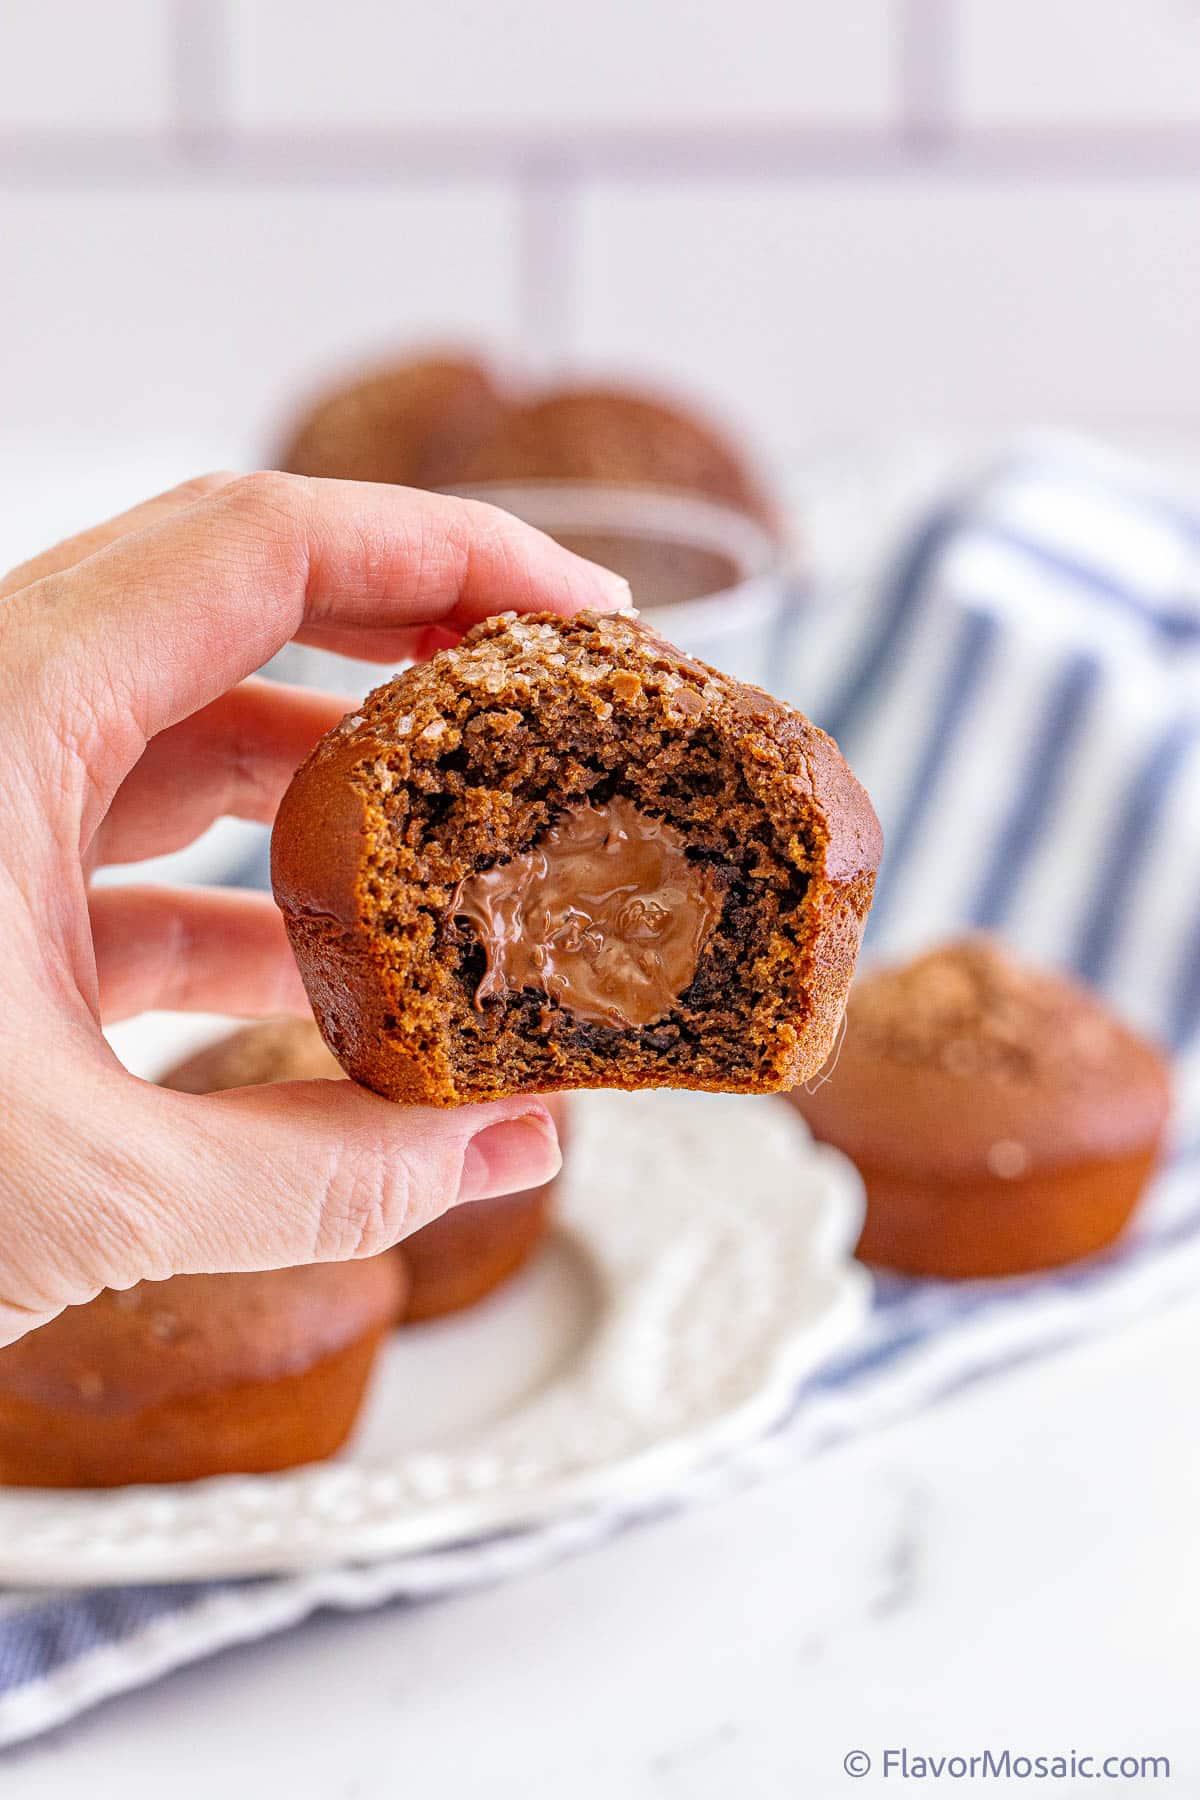
These Nutella muffins are soft and moist with a gooey Nutella center and a light sprinkling of decorators sugar on top, adding a slight crunch.
HOW SHOULD I STORE NUTELLA-STUFFED CHOCOLATE MUFFINS?
These chocolate muffins can be stored at room temperature in an airtight container for four days or in the freezer for up to 3 months.
To prevent the muffins from drying out in freezer storage, wrap them in plastic wrap and then with aluminum foil.
HOW DO I PREVENT MY BAKED MUFFINS FROM STICKING TO THE PAN?
If you intend to pour the muffin batter directly into the muffin pan, it’s a good idea to spray the pan with non-stick cooking spray.
Otherwise, consider lining the muffin pan with paper or even silicone liners.
WHAT IS THE DIFFERENCE BETWEEN THESE CHOCOLATE MUFFINS AND CHOCOLATE CUPCAKES?
These chocolate muffins are denser than typically fluffy and light cupcakes. Muffins also tend to have less sugar in the batter compared to sweet cupcakes.
If you like this recipe or make this recipe, be sure to leave a comment, rate the recipe, and follow us on:
Facebook | Twitter | Pinterest | BlogLovin | Instagram
Recipe
Nutella Stuffed Chocolate Muffins
Ingredients
- 2-1/2 cups all-purpose flour
- 1/2 cup cocoa powder
- 1 tablespoon baking powder
- 1/2 teaspoon baking soda
- 1/2 teaspoon table salt
- 2 large eggs
- 1 cup granulated sugar
- 1 cup whole milk
- 1/2 cup vegetable oil
- 1/3 cup sour cream
- 1 teaspoon vanilla extract
- 22 heaping teaspoons Nutella
- Decorators sugar for garnish optional
Instructions
- Preheat the oven to 425°F. Spray 2 12-cup muffin tins with baking spray or add liners, set aside.
- In a medium-sized bowl, stir together the flour, cocoa powder, baking powder, baking soda, and salt, set aside.
- In a large bowl, whisk together the eggs and sugar until smooth. Add the milk, oil, sour cream, and vanilla, and whisk until smooth.
- Add the dry ingredients to the wet and stir to combine until there are no dry patches.
- Add 1 and ½ tablespoons of the batter to the bottom of 22 sections of the greased/lined muffin tins. I like to use a 1 & ½ tablespoon-sized cookie scoop for this. Add 1 heaping teaspoon of Nutella to the center of each muffin. Add another 1 & ½ tablespoon of the batter on top. Make sure the batter on top completely covers the Nutella.
- Bake for 5 minutes at 425°F. Lower the oven to 350°F, leaving the muffins in the oven, and bake for an additional 10-13 minutes. The muffins will puff up, slightly crack on top and will appear dry when ready. You can insert a toothpick into the center of the muffin halfway between the center and edge, you may get some nutella on the toothpick but the muffin batter itself should come out clean.
- Let the muffins cool in the muffin tin for 5 minutes. Take them out and let them cool completely on a wire rack.
Notes
- As with any other muffin recipe, over-stirring the muffin batter will result in crumbly (and possibly rubbery) muffins. You only need to stir just until the flour is incorporated; no more.
- If you’ve opted to make these Nutella stuffed chocolate muffins gluten-free with your choice of gluten-free flour, just be aware that it’s normal for the muffins to require additional baking time than what’s called for in this recipe. You can always test the muffins by inserting a toothpick into them, which should come out clean if cooked through. Insert the toothpick into the side of the muffin as the center is filled with gooey Nutella.
- To reduce the possibility of air pockets in the muffin batter, tap the muffin pan gently on the countertop before baking.
- These chocolate muffins can be enjoyed warm or once completely cooled.
- You can easily double the recipe if you prepare for a party and have enough muffin pans.
- I’ve used oil in this recipe to make these muffins soft. I don’t recommend substituting it with butter.
- Keeps on the countertop for up to 4 days in an airtight container. Place in the freezer for up to 3 months.
- You can let these cool completely or enjoy them warm.
- In place of the sugar on top, you can sprinkle a little flake sea salt on them when they first come out for a salty/sweet treat. Or sugar and salt on top, yum!!


Comments
No Comments