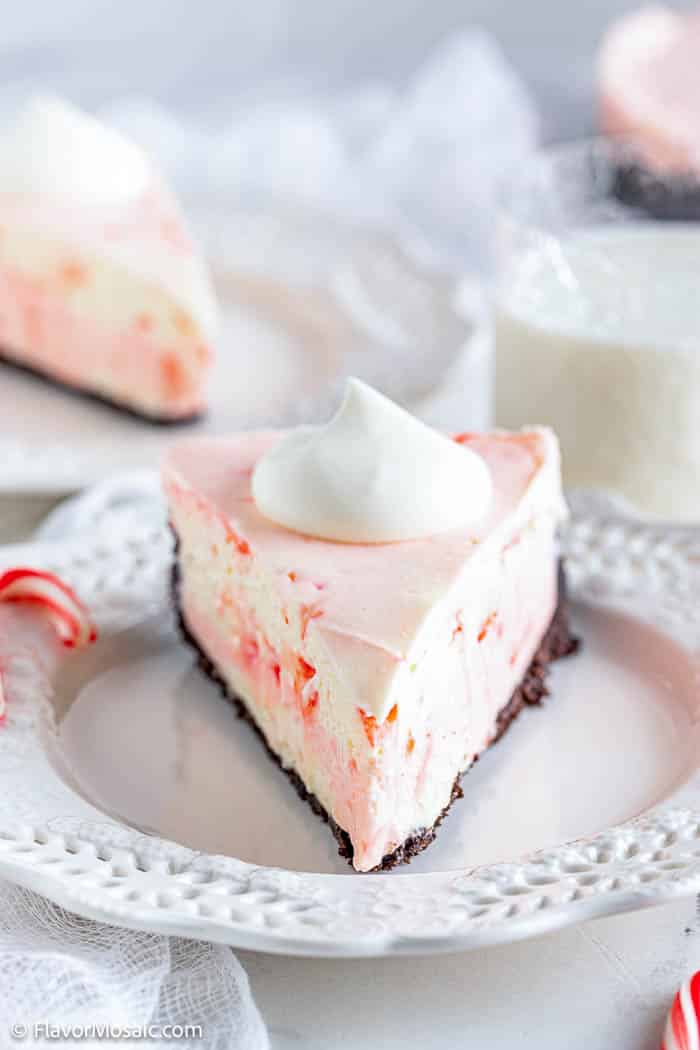
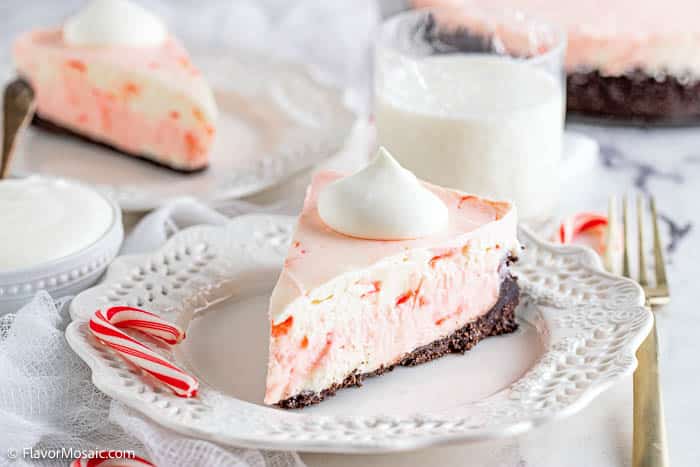
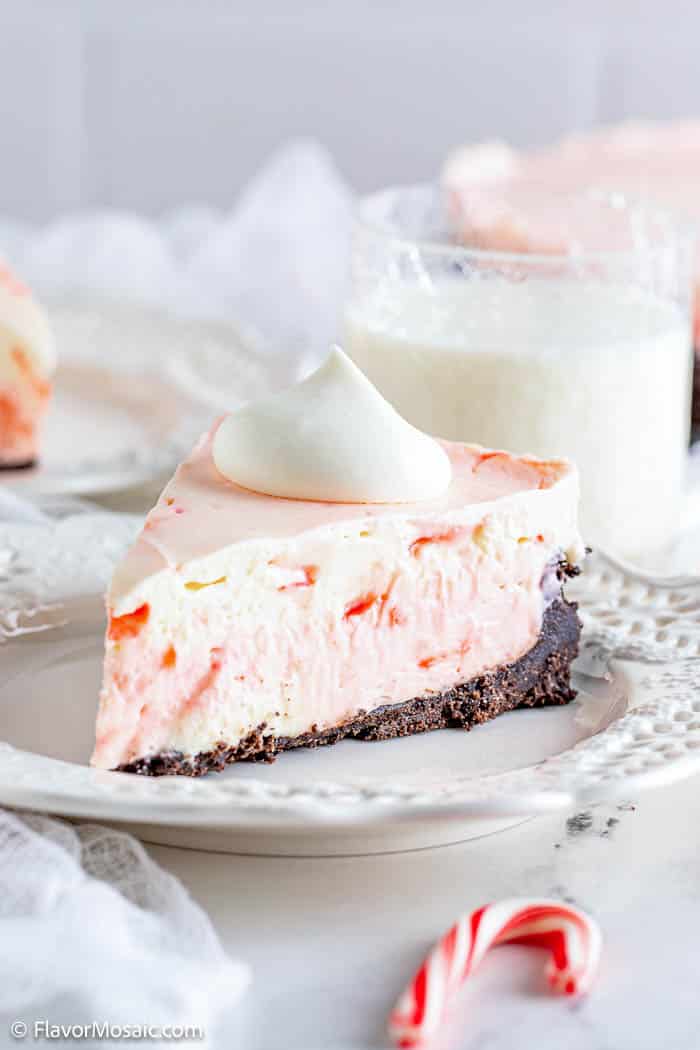
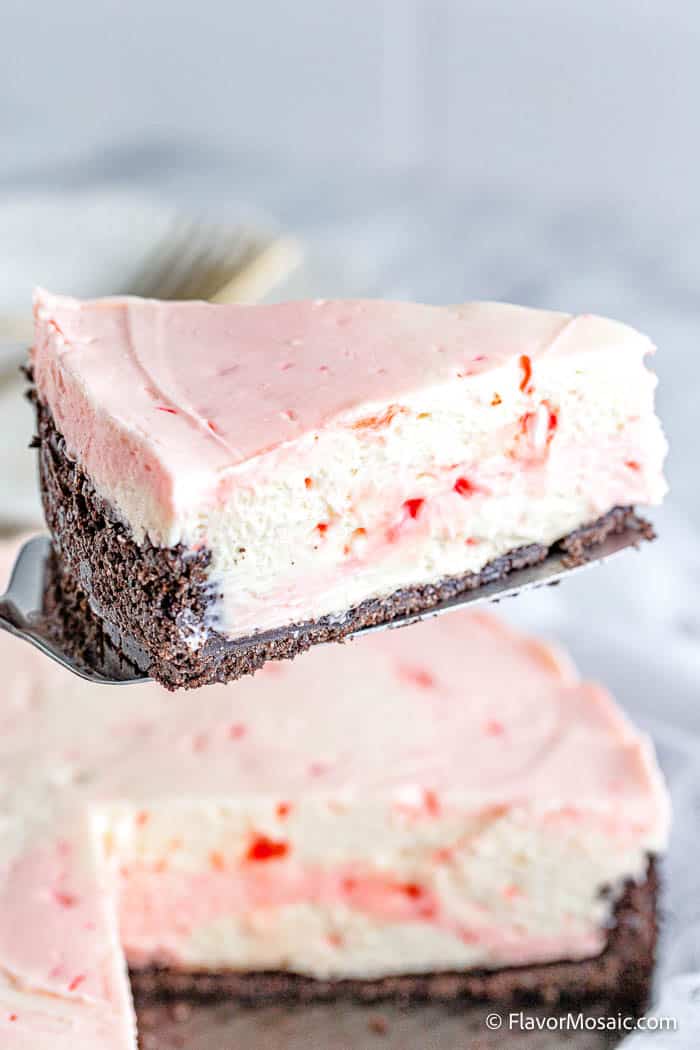
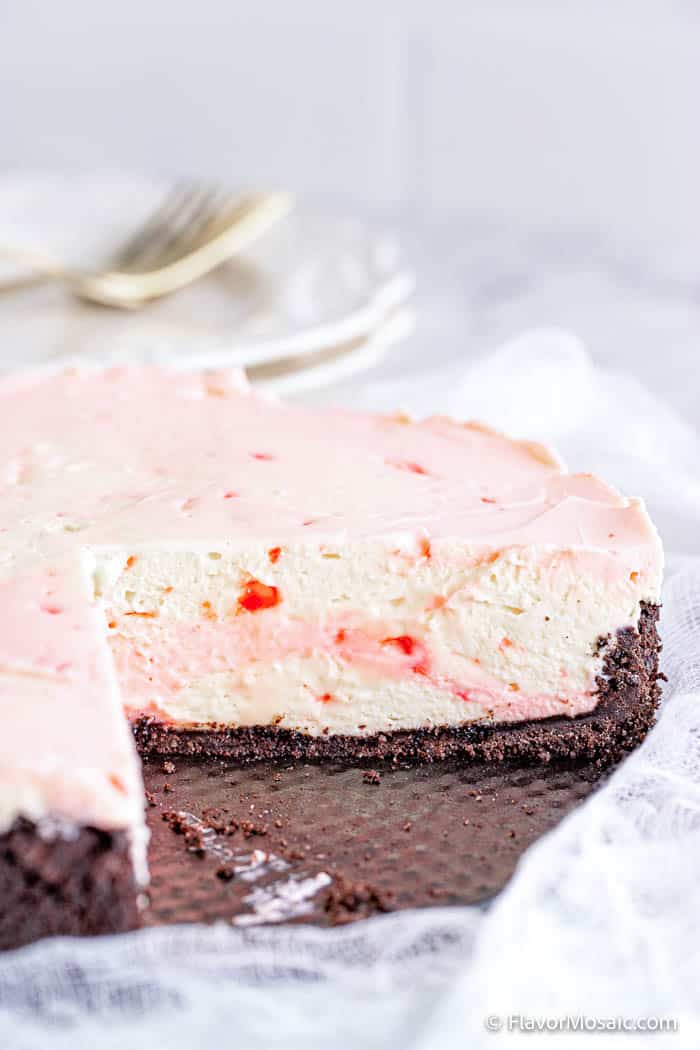
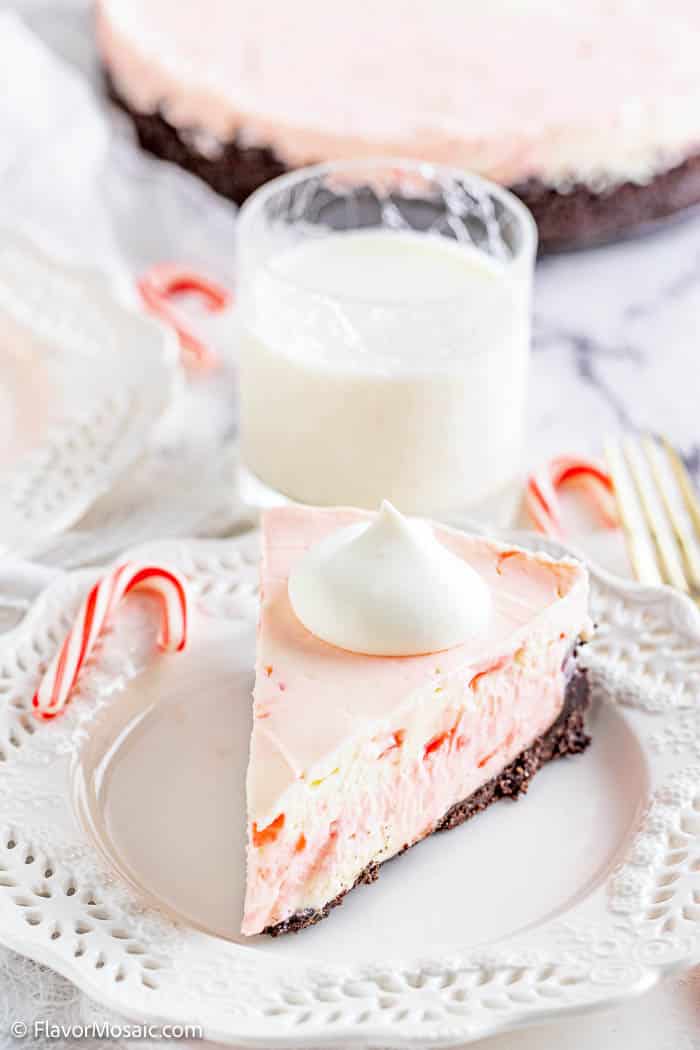
This No Bake Candy Cane Cheesecake has a delicious chocolate Oreo cookie crust, a creamy cheesecake filling, and is loaded with sweet peppermint flavor from crushed mini candy canes!
Perfect for a holiday party, No-bake Peppermint Cheesecake is a simple no-bake cheesecake, yet it makes an impressive dessert for your holiday dinner!
Who needs Cheesecake Factory when you can have this peppermint-flavored cheesecake made with crushed peppermint candy canes at home. It is a wonderful, cheerful, and delicious Dessert Recipe.
This creamy Christmas cheesecake is perfect as a dessert for your holiday potluck, or party, or for your family Christmas dinner.
Pair this peppermint cheesecake with Carrot Cake Cheesecake, Mini Gingerbread Cheesecake Bites, and other holiday desserts for a Christmas charcuterie board.
Of all of our Christmas recipes, this no-bake cream cheese cheesecake is one of our favorite cheesecake recipes and holiday desserts!
Table of Contents
- Why You’ll Love This Recipe
- Why This Recipe Works
- What is Required To Make This Christmas Cheesecake
- How To Make The Oreo Cookie Crumb Crust
- How To Make The Peppermint Cheesecake
- Toppings For Peppermint Cheesecake
- Pro Recipe Tips
- What To Serve With Candy Cane Cheesecake?
- Frequently Asked Questions (FAQs)
- More Holiday Desserts You’ll Love
- Recipe
- Reviews
Why You’ll Love This Recipe
No-Bake Peppermint Candy Cane Cheesecake makes a delicious cheesecake. Below are some of the things that you’ll love about this recipe.
- Sweet Peppermint Flavor. It has a sweet, creamy cheesecake filling with lots of peppermint flavor, yet with the tang of the cheesecake. You can use crushed candy canes, or crushed peppermint candies to provide that wonderful sweet peppermint flavor.
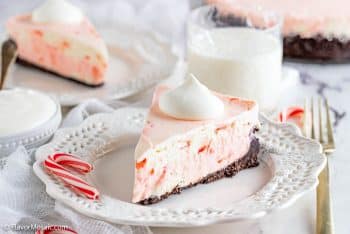
- Cheerful holiday color. The peppermint candy canes give the cheesecake that festive pink color.
- Creamy Cheesecake Filling. The filling has that creamy texture because it is made with sweetened cream cheese.
- Oreo Cookie Crumb Crust. It has a chocolate flavor provided by the Oreo cookie crumb crust.
Why This Recipe Works
- Tried and True Recipe. This recipe has been made many times by friends and family.
- Step By Step Instructions, Photos, and Video. Step by step photos are included with the instructions. In addition, a video is included to make it as easy as possible to follow.
- Helpful Recipe Tips. I always like to include some recipe tips, especially since cheesecakes can sometimes be a bit finicky.
- Frequently Asked Questions (FAQs). You’ve got questions and we have answers. I try to answer common questions up front to try to save time for readers.
What is Required To Make This Christmas Cheesecake
Equipment
- Food Processor – You’ll need a food processor to crush the Oreo cookies for the cookie crumb crust.
- 9″ Springform Pan – This nonstick springform pan offers a quick release and easy clean up.
- Aluminum Foil
- Mixing Bowl Set – Every baker must have a good mixing bowl set. I like this set as it is durable and highly rated. The high-quality tempered glass is dishwasher, freezer, microwave and preheated oven safe. It highly rated by over 20,000 reviewers and costs under $20.
- Stand Mixer – Anyone who does a lot of baking will love this popular stand mixer. It saves time, and wear and tear on your arms. It comes in a variety of colors so you can pick your favorite color.
- Electric Hand Mixer – For a more economical option that you can store under the counter I recommend a hand mixer. I like this one that has a case so you can easily store all its accessories together. It is highly rated by 10s of 1,000s of reviewers and is under $25.
- Sharp Knife – You’ll need a sharp knife to cut the brownies. Here is a small sharp knife set that is highly rated at a reasonable price.
- Cutting Board – This popular 3-piece cutting board set is non-slip with handles and dishwasher safe, and is very economical so it will fit most budgets.
Ingredient Notes
Below, I discuss the ingredients and possible substitutions if you don’t have a specific ingredient. However, if you are looking for the specific measurements of each ingredient, scroll down to the bottom of this article, just above the comments, for the printable recipe card, which includes all the ingredients and the specific amounts of each one.
Peppermint Cheesecake Ingredients
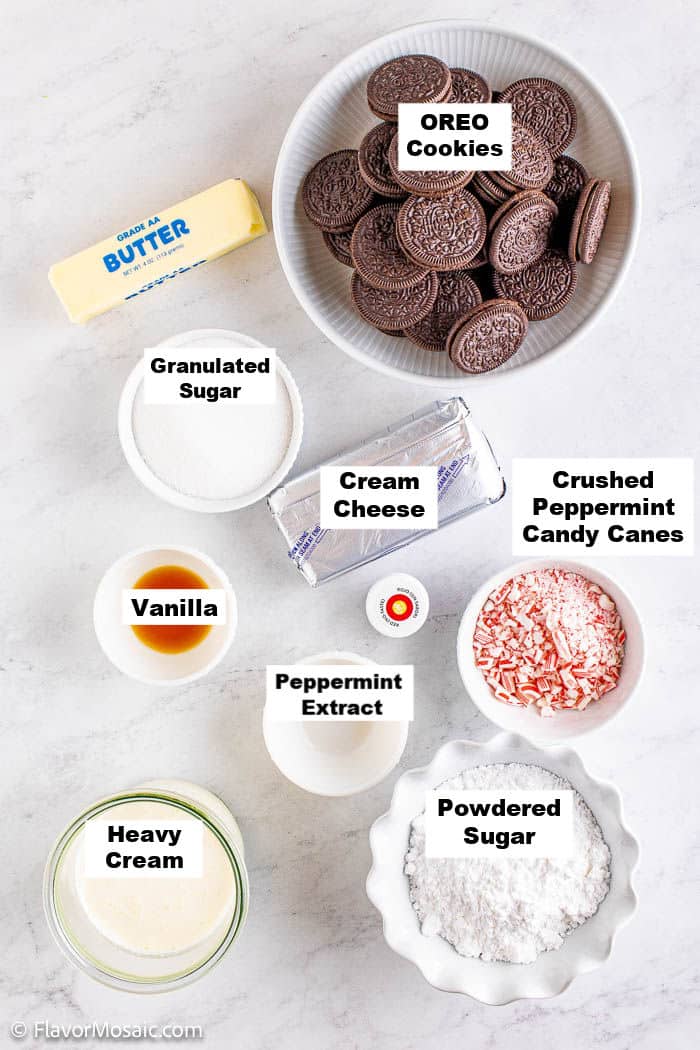
- Oreo Cookies. There are generic chocolate sandwich cookies, but nothing beats the quality of the original.
- Butter. I highly recommend using real butter. I like to use unsalted butter, but salted butter would work as well. If you have a choice between margarine and butter, choose butter.
- Cream Cheese. I like to use real cream cheese, but light cream cheese, or Neufchâtel cheese, would work as well.
- Granulated Sugar. You’ll need white granulated sugar for this recipe.
- Powdered Sugar. Powdered sugar, or Confectioner’s Sugar, is required for this recipe.
- Vanilla Extract. I highly recommend using real vanilla and not imitation vanilla.
- Peppermint Extract. I use this in the cheesecake filling, along with crushed peppermint candies or candy canes.
- Heavy Whipping Cream. I recommend using the heavy whipping cream instead of half and half. However, if you don’t have it, you could use the refrigerated whipped topping, like Cool Whip.
- Crushed Candy Canes or Peppermint Candies. Next you’ll need candy canes or peppermint candies that will be crushed for this recipe.
How To Make The Oreo Cookie Crumb Crust
For the most detailed step-by-step recipe instructions with ingredient measurements, scroll down to the bottom of this article for the printable recipe card.
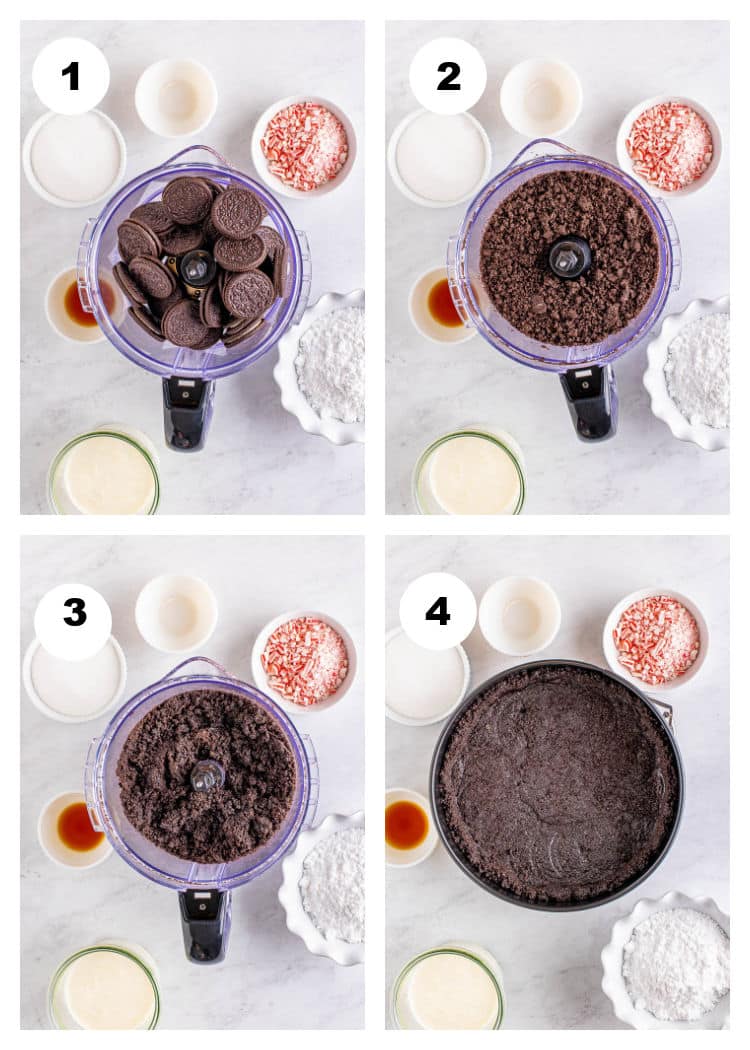
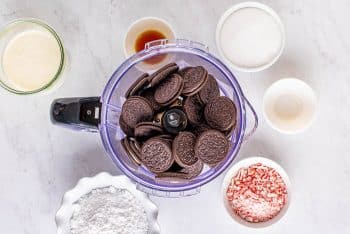
- Place the Oreos in the body of a food processor.
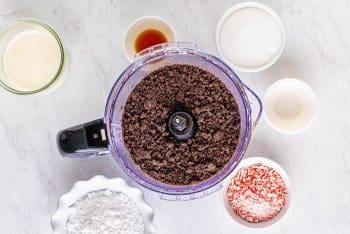
- Process them until they are small crumbs.
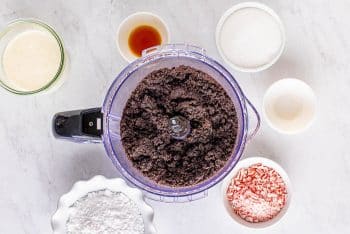
- Drizzle in the melted butter while pulsing. Give it a stir with a spoon to make sure the crumbs are coated in the butter.
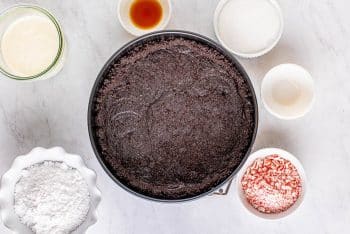
- Press the crumbs into a 9-inch springform pan on the bottom and slightly up the sides. I like to use the bottom of a flat glass or measuring cup to pack the crumbs in place. Place the pan in the freezer while you assemble the filling.
How To Make The Peppermint Cheesecake
For the most detailed step-by-step recipe instructions with ingredient measurements, scroll down to the bottom of this article for the printable recipe card.
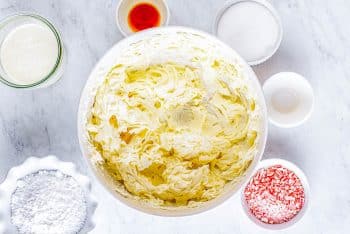
- In a large bowl, whip the cream cheese with an electric hand mixer, you can also do this with a stand mixer with the paddle attachment, until smooth
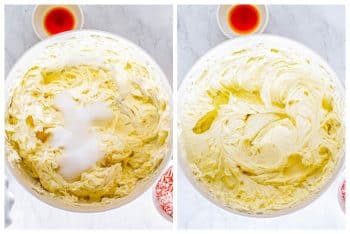
- Add the granulated sugar and mix it in.
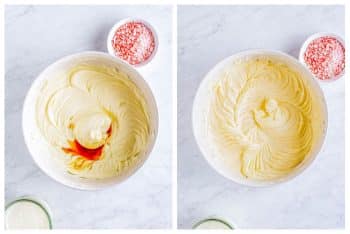
- Add in the powdered sugar, and vanilla, and mix.
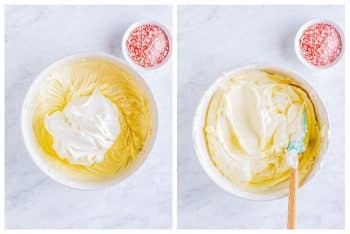
- Add the peppermint extract, mix to combine, set aside. In a medium bowl, whip the heavy cream to stiff peaks, make sure not to overmix.
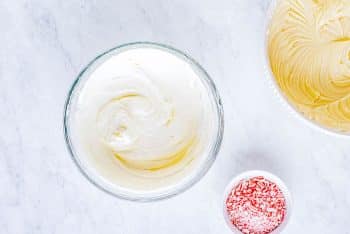
- Fold the whipped cream into the cream cheese mixture until there are no streaks. Taste and add more peppermint extract if you want more of a mint flavor.
- Add the crushed candy canes.
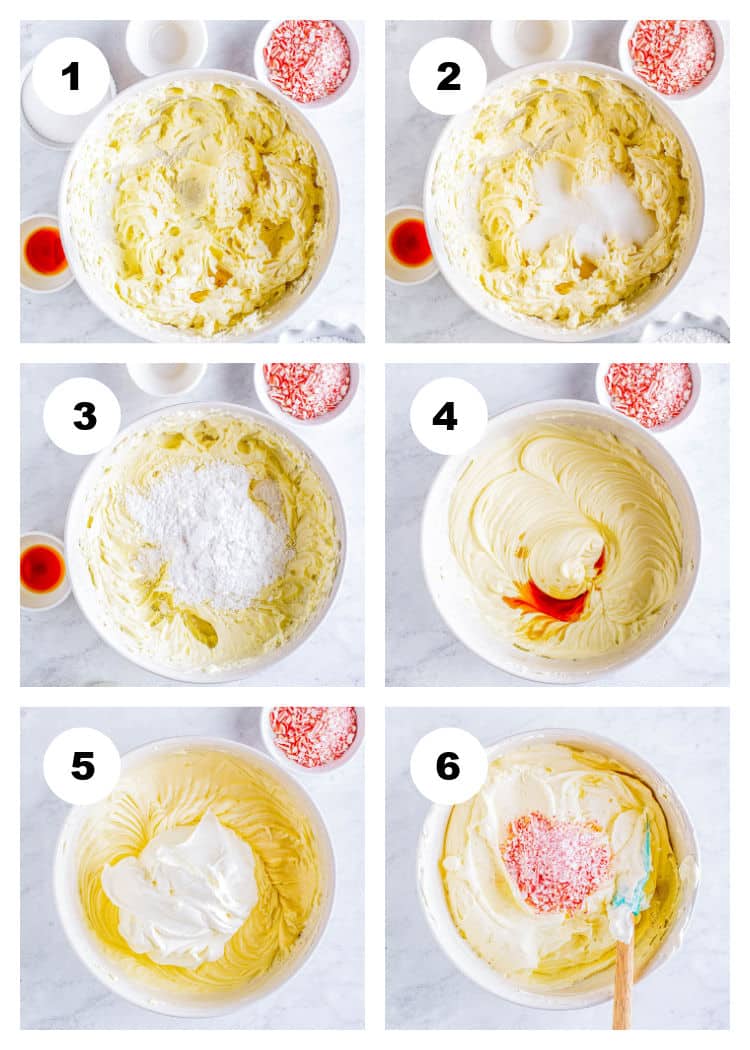
- Fold the crushed candy canes into the batter.
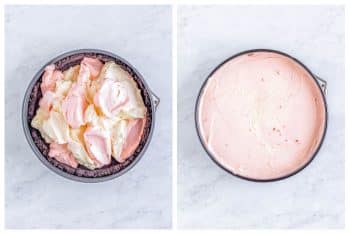
- Divide the mixture into two bowls. Color one of the bowl with red food coloring until you get a shade of pink that you like.
- Dollop the filling into the crust, alternating between pink and white batter so it has a mix of pink and white filling throughout,
- Smooth out the top. Cover and place in the fridge for at least 8 hours or overnight if you can.
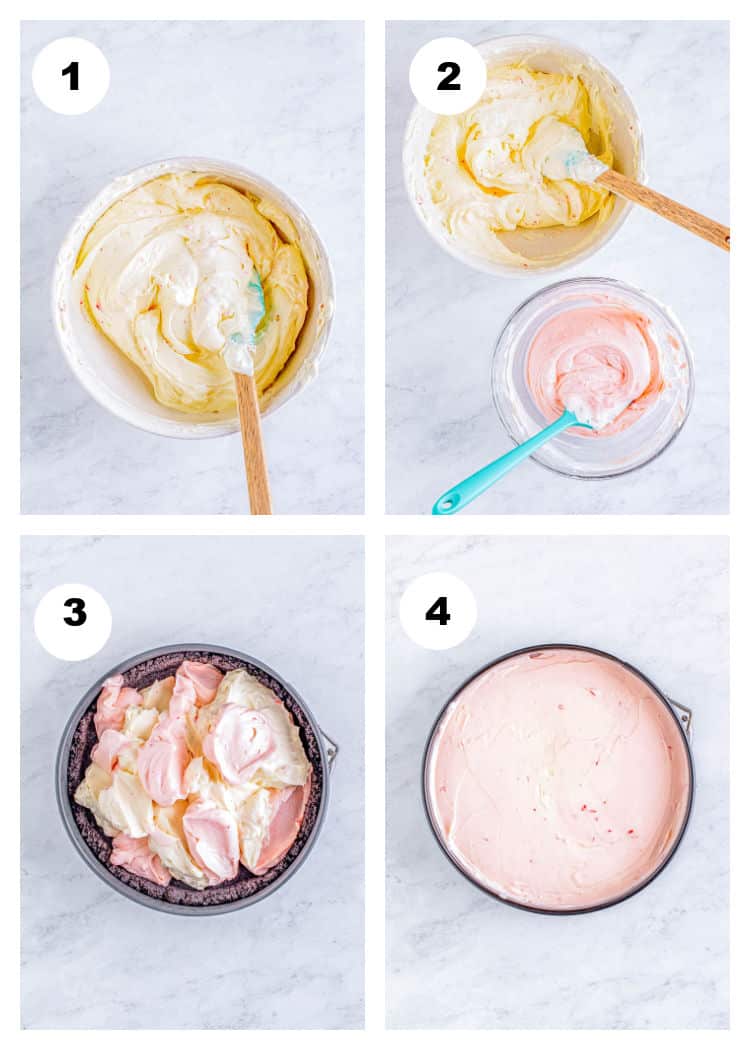
- Take off the outer attachment of the pan, slice, and serve with toppings or as is.
Toppings For Peppermint Cheesecake
- Whipped Cream
- Crushed Peppermint candies or candy canes
- Crushed Peppermint Bark
Pro Recipe Tips
- Cream Cheese. The cream cheese needs to be softened before starting to work with it. I recommend taking the cream cheese out of the refrigerator about 30 minutes before starting the recipe. In addition, be sure to use a good quality cream cheese. Sometimes generic store brand cream cheese has a slightly different texture and doesn’t work as well in a cheesecake.
- Heavy Whipping Cream. In this recipe, I recommend using the full-fat heavy whipping cream to make the whipped cream. Using half and half does not provide the same rich texture to the cheesecake.
- Taste As You Go. Different peppermint extracts have different strengths. Start with mixing in 1/4 teaspoon into the batter, and taste the batter first. If it needs to be stronger, then you can add another 1/4 teaspoon and taste it again until it has the right amount of peppermint flavor.
- Don’t Rush The Chill Time. This no-bake cheesecake needs to chill for a full 8 hours in order to firm up. Don’t try to rush it. So only make this cheesecake if you have allowed enough time for it to chill completely.
- Don’t Leave Out For More Than An Hour. When serving, try not to leave out for more than an hour otherwise it may start to soften too much. I recommend after serving, cover and return it to the refrigerator.
What To Serve With Candy Cane Cheesecake?
- I like to serve this cheesecake with a holiday favorite, Peppermint White Hot Chocolate, or a nice cup of hot coffee.
- Add this cheesecake to a holiday dessert table that includes holiday cookies, such as Christmas Shortbread Thumbprint Cookies, or Molasses Crinkle Cookies.
Frequently Asked Questions (FAQs)
How Do I Store Leftover Cheesecake?
I cover it, or place it in an airtight container and place it in the refrigerator.
Can I Freeze Leftover Cheesecake?
You can freeze no bake cheesecake for up to 3 months. Take it out of the freezer and place it in the refrigerator for 30 minutes before serving.
Can I Freeze No Bake Cheesecake To Get It To Set Faster?
No. It will change the texture, and you won’t get that nice smooth texture, and it will be difficult to slice.
More Holiday Desserts You’ll Love
If you like this recipe or make this recipe, be sure to leave a comment, rate the recipe, and follow us on:
Facebook | Twitter | Pinterest | BlogLovin | Instagram
Recipe
No Bake Peppermint Cheesecake Recipe
Ingredients
For the crust
- 30 Oreos
- 7 tablespoons unsalted butter melted
For the filling
- 24 ounces cream cheese softened
- 1/2 cup granulated sugar
- 1 cup powdered sugar
- 1 teaspoon vanilla extract
- 1/4 teaspoon peppermint extract or more to taste
- 1 & 1/4 cups heavy whipping cream
- 1/3 cup crushed candy canes/peppermints
- red gel food coloring
Instructions
Make The Oreo Crust
- Place the Oreos in the body of a food processor.
- Process the Oreos until they are only small crumbs.
- Drizzle in the melted butter while pulsing. Give it a stir with a spoon to make sure the crumbs are coated in the butter.
- Press the crumbs into a 9-inch springform pan on the bottom and slightly up the sides. I like to use the bottom of a flat glass or measuring cup to pack the crumbs in place. Place in the freezer while you assemble the filling.
Make The Cheesecake Filling
- In a large bowl, whip the cream cheese with an electric hand mixer, you can also do this with a stand mixer with the paddle attachment, until smooth.
- Add the granulated sugar and mix it in.
- Add in the powdered sugar, vanilla, and peppermint extract, mix to combine, set aside.
- In a medium bowl, whip the heavy cream to stiff peaks, make sure not to overmix.
- Fold the whipped cream into the cream cheese mixture until there are no streaks. Taste and add more peppermint extract if you want more of a mint flavor.
- Fold in the crushed candy canes. Divide the mixture into two bowls. Color one of the bowl with red food coloring until you get a shade of pink that you like.
- Dollop the filling into the crust, so it has a mix of pink and white filling throughout, smooth out the top. Cover and place in the fridge for at least 8 hours or overnight if you can.
- Take off the outer attachment of the pan, slice, and serve with toppings or as is.
Video
Notes
Pro Recipe Tips
- Cream Cheese. The cream cheese needs to be softened before starting to work with it. I recommend taking the cream cheese out of the refrigerator about 30 minutes before starting the recipe. In addition, be sure to use a good quality cream cheese. Sometimes generic store brand cream cheese has a slightly different texture and doesn’t work as well in a cheesecake.
- Heavy Whipping Cream. In this recipe, I recommend using the full-fat heavy whipping cream to make the whipped cream. Using half and half does not provide the same rich texture to the cheesecake.
- Taste As You Go. Different peppermint extracts have different strengths. Start with mixing in 1/4 teaspoon into the batter, and taste the batter first. If it needs to be stronger, then you can add another 1/4 teaspoon and taste it again until it has the right amount of peppermint flavor.
- Don’t Rush The Chill Time. This no-bake cheesecake needs to chill for a full 8 hours in order to firm up. Don’t try to rush it. So only make this cheesecake if you have allowed enough time for it to chill completely.
- Don’t Leave Out For More Than An Hour. When serving, try not to leave out for more than an hour otherwise it may start to soften too much. I recommend after serving, cover and return it to the refrigerator.
Nutrition
;ljkl;



Melody says
I made this for our family Christmas dinner dessert. The flavor of this cheesecake is fantastic. I like no sweetened condensed milk is used as I don’t like the mouthfeel of it. Hubby got to lick the spatula and gave it a double thumbs up saying wow that is good. Very easy to make and comes together fast. The two longest parts is waiting on cream cheese to come to room temp and then waiting for it setup once put together. Definitely will use this as a base for other flavors too.