
This post may contain affiliate links. Please read our disclosure policy.
Capture the magic of the season with Christmas Tree Cookies that actually look as good as they taste. The perfect sugar cookie should be crisp, buttery, and, most importantly, it should hold its shape.

If you have ever struggled with dough that melts into unrecognizable blobs, this reliable no-spread recipe ensures your trees keep their sharp, distinct branches every time.
Once you make this recipe, it will likely become one of your favorite Christmas Cookies for the holidays.
Table of Contents
Why You'll Love This Recipe
- No More “Cookie Blobs”: Finally, a cookie that keeps its shape while it bakes! These trees keep their distinct branches instead of puffing out into unrecognizable shapes.
- Soft & Buttery: Sometimes “no-spread” cookies can turn out hard as rocks, but these stay soft on the inside with that classic vanilla-butter flavor we all love.
- The “Double Chill” Trick: It sounds fancy, but it's super simple. We just chill the dough a second time right before baking. It's the easiest way to make sure your cookies come out looking like pros made them.
- Sturdy Enough to Stack: Since the icing dries nice and firm, you can stack these in tins for your neighbors or cookie exchanges without worrying about smudges or broken branches.
- You Can Hang Them! These make the cutest edible ornaments. Just poke a hole with a straw before baking, add a ribbon, and hang them right on your tree (if you don’t eat them all first!).

🛒 Ingredients and Substitutions
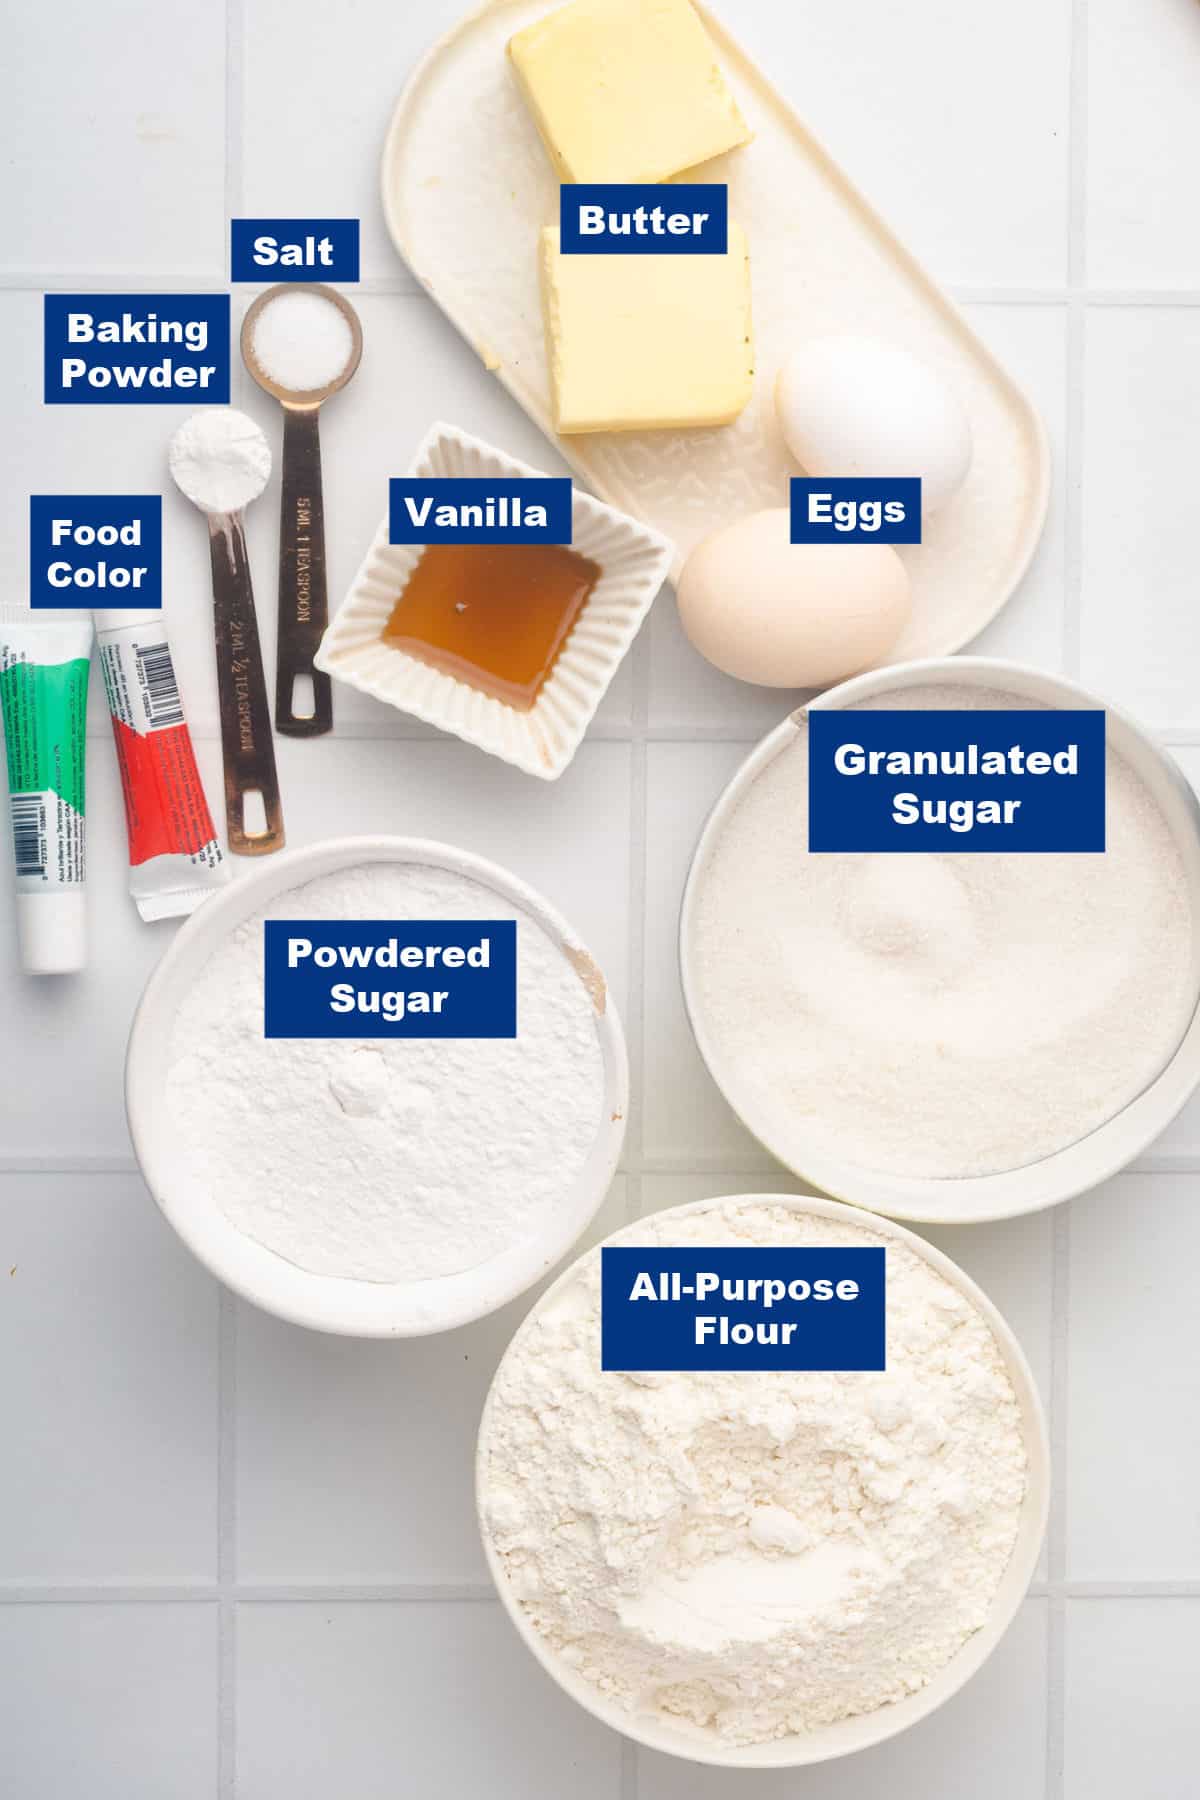
- Butter: I use unsalted butter to better control the amount of salt in the recipe. In addition, before starting the recipe, let the butter sit out about 30 minutes, or until it is softened to room temperature (but not melted) so it beats more easily with the sugar. If it’s too soft or oily, the cookies might spread.
- Sugar: I use standard white granulated sugar for the cookie dough and powdered sugar (confectioners’ sugar) for the icing.
- Eggs (For the Dough): This recipe is designed for 2 small eggs rather than the standard large ones. This is key since large or jumbo eggs add more liquid, using small eggs helps keep the dough texture perfect and prevents it from getting too sticky.
- Flour: Regular all-purpose flour works perfectly in this recipe.
- Extracts: Pure vanilla extract is the classic choice. However, if you want that “fancy bakery” flavor, you can swap half of the vanilla for Almond Extract (so ½ tsp vanilla + ½ tsp almond).
- Egg White (For the Icing): We use 1 egg white to make the royal icing. It creates that smooth, glossy finish that dries hard.
Equipment Needed
- Christmas Cookie Cutters: Whether you use detailed fir trees or simple triangles, metal cutters usually give cleaner cuts than plastic ones.
- Baking Sheets: Light-colored aluminum pans are best for cookies because they prevent the bottoms from browning too quickly.
- Parchment Paper: This is essential for preventing sticking and makes cleanup a breeze.
- Piping Bags or Squeeze Bottles: For the royal icing, plastic squeeze bottles are great for kids or beginners, while piping bags with a small round tip (like a #2 or #3) give you more precision for outlining.
- A Straw (Optional): If you want to turn these cookies into ornaments, keep a drinking straw handy to punch holes in the dough before baking.
How to Make Christmas Tree Cookies
Make the Dough:
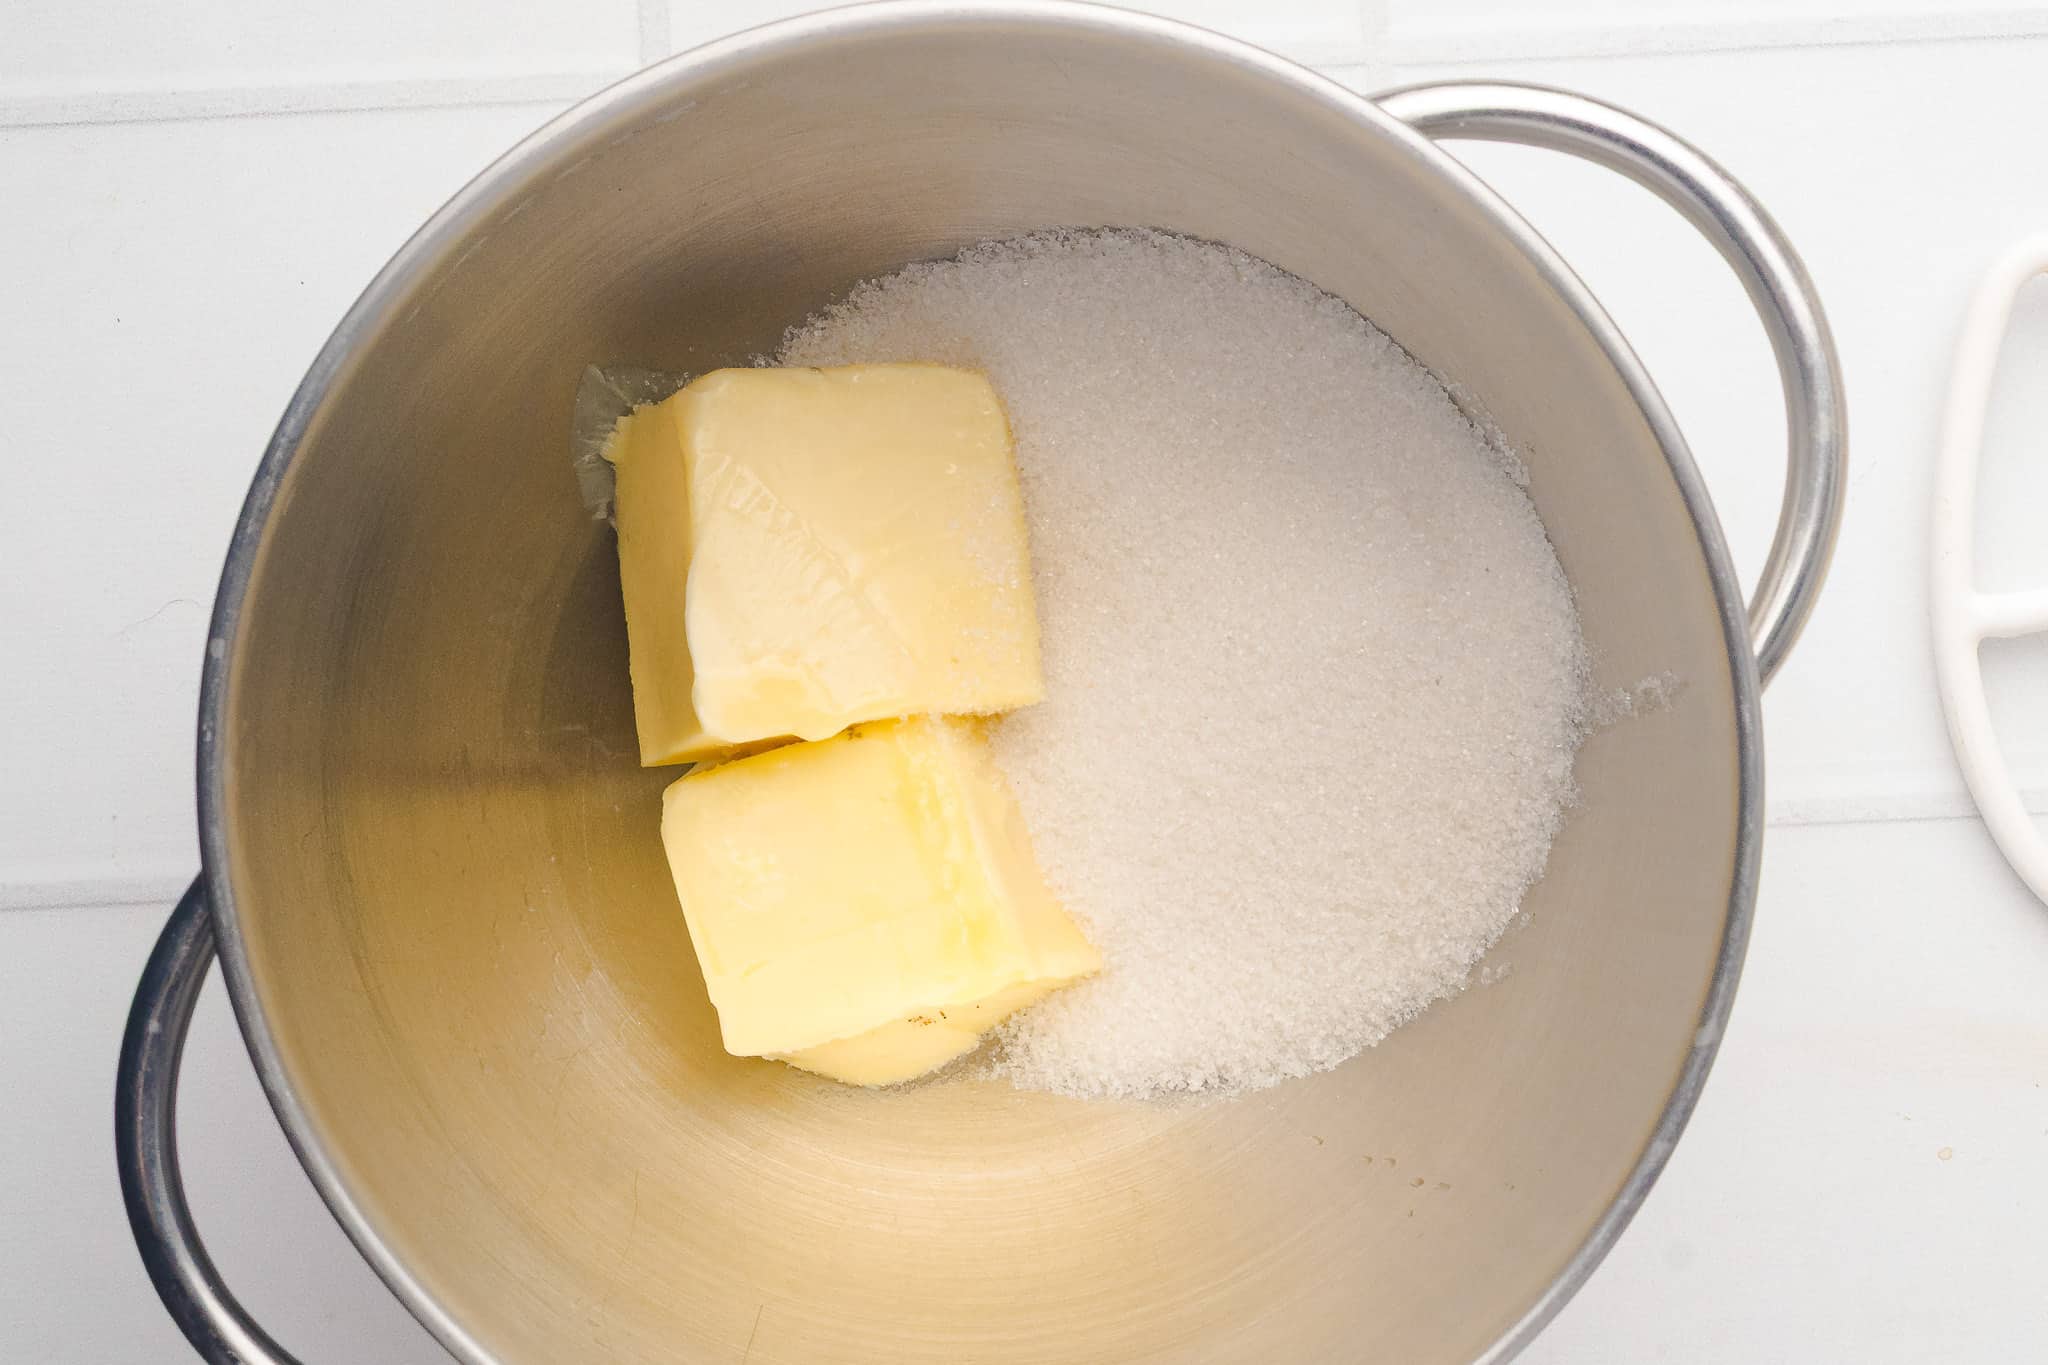
Start by creaming the butter and sugar until it’s light and fluffy.
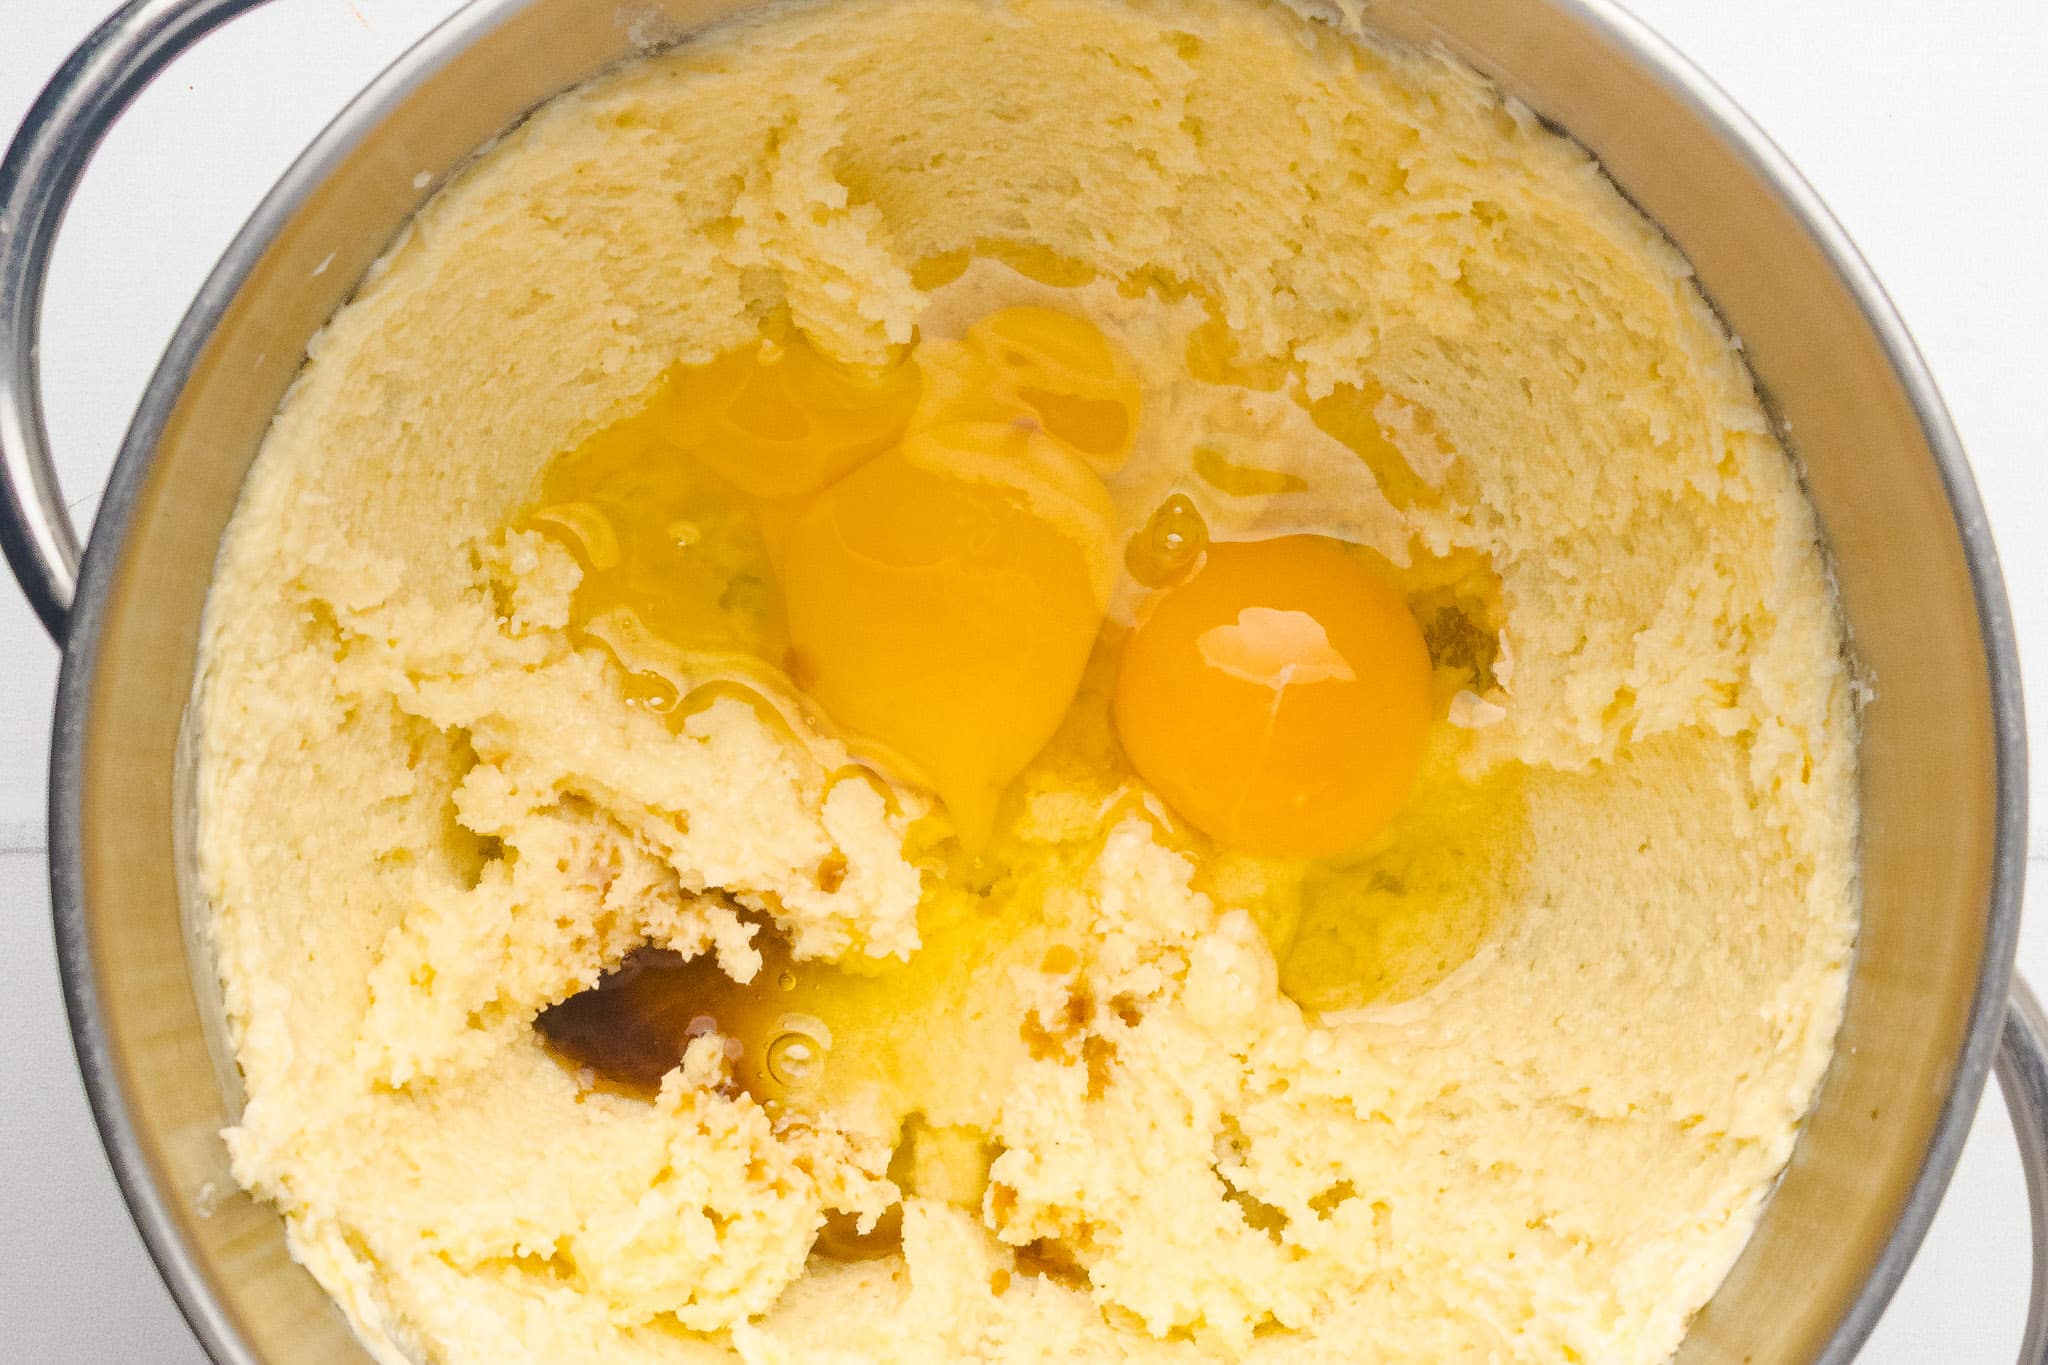
Then, mix in your eggs and vanilla extract.
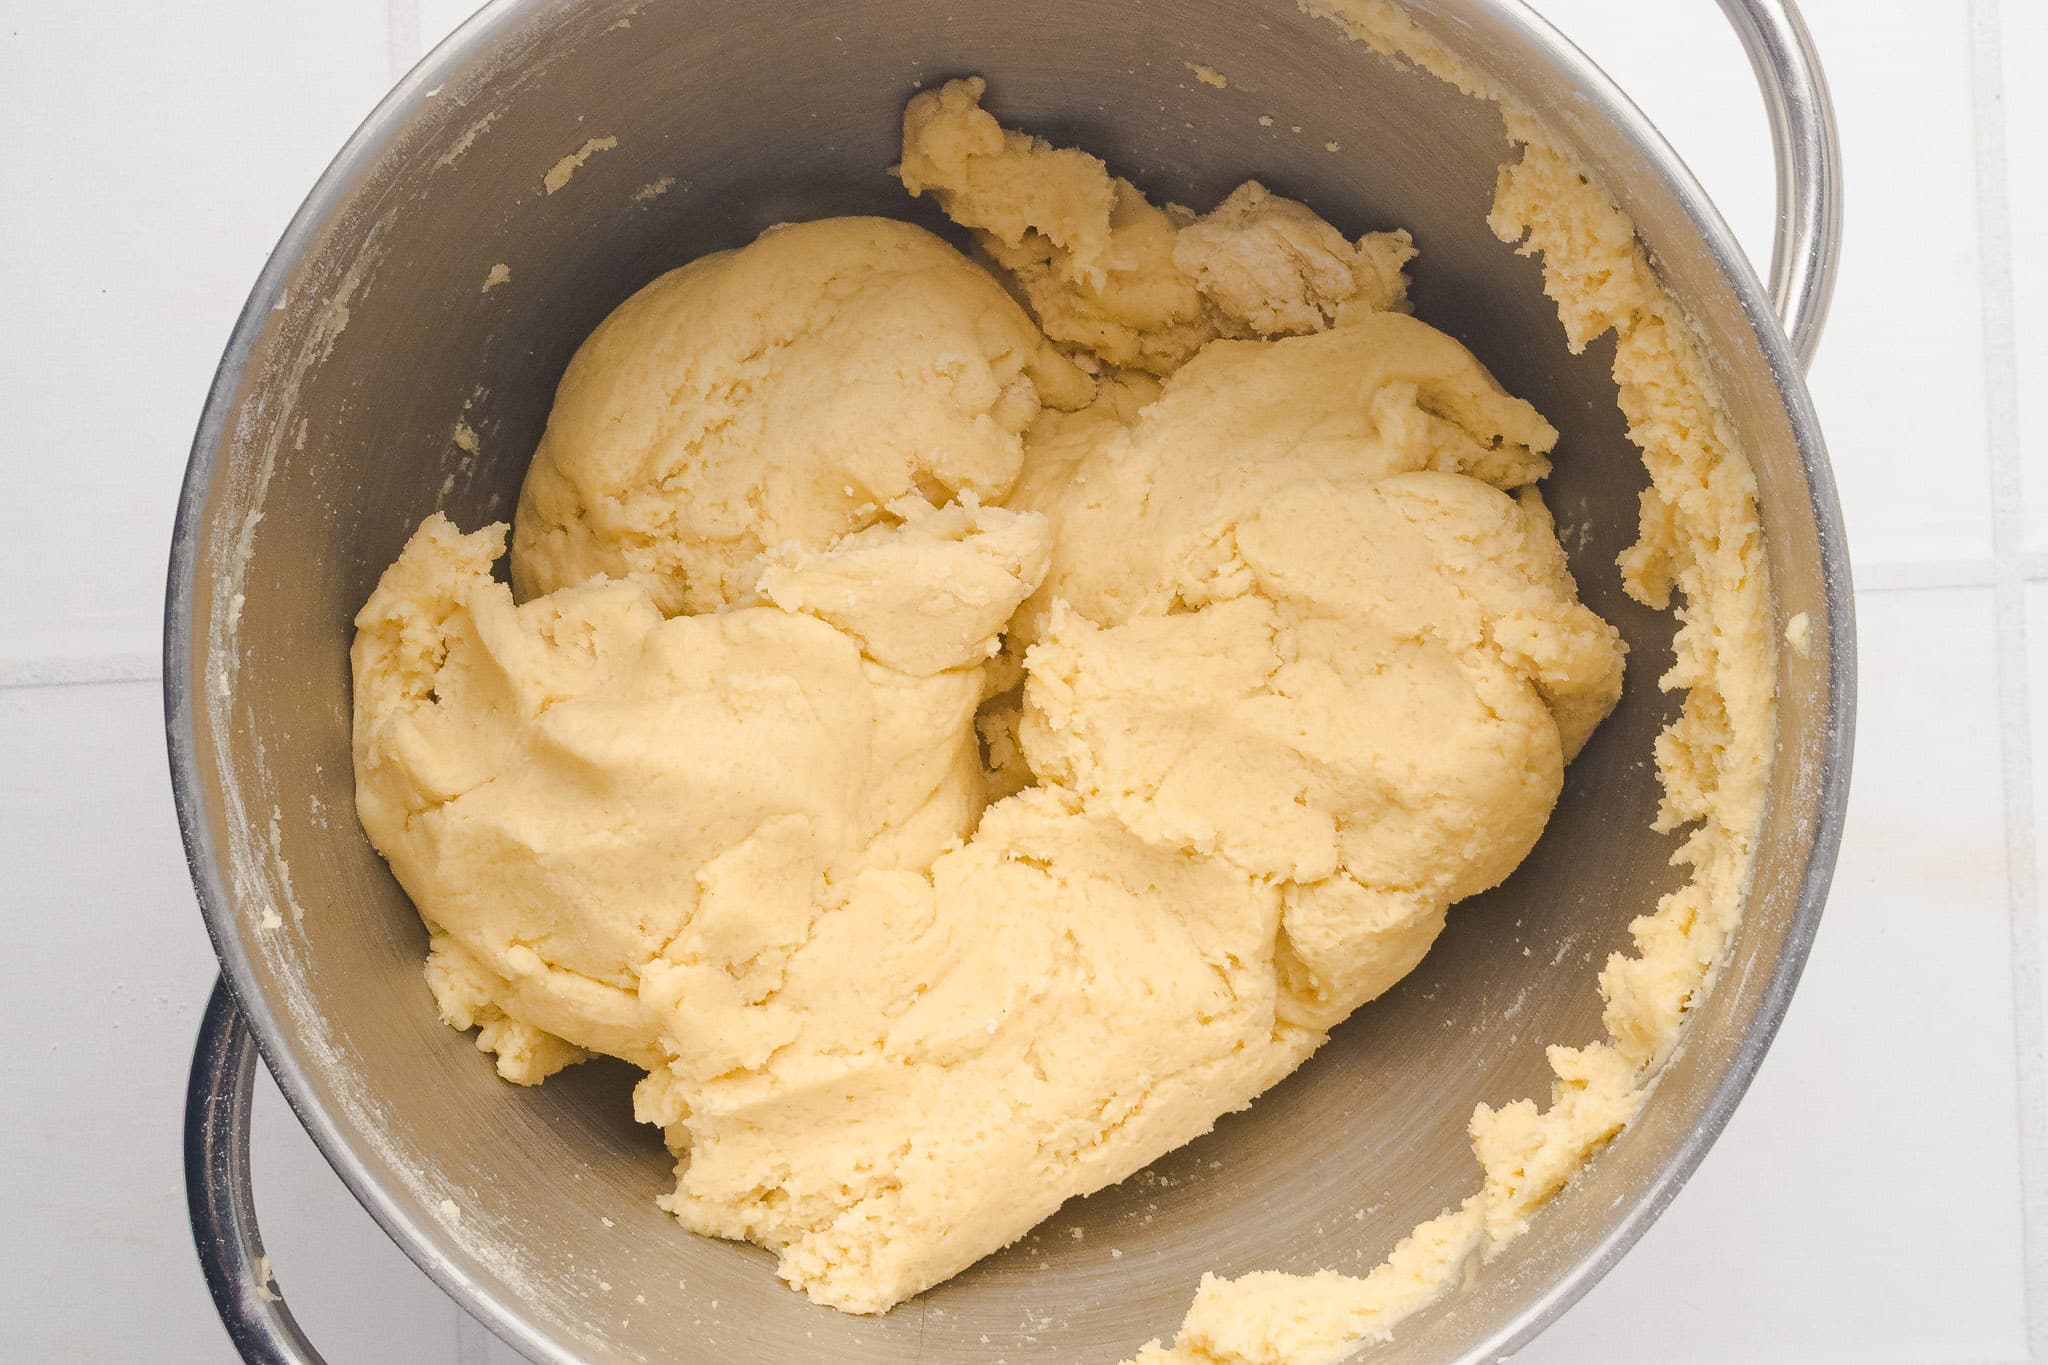
Finally, gradually add the flour mixture until a soft dough forms.

Chill the Dough (Round 1): Divide the dough in half, flatten each piece into a disk, and wrap them in plastic. Pop them in the fridge for at least 3 hours. This makes the dough much easier to roll out later.
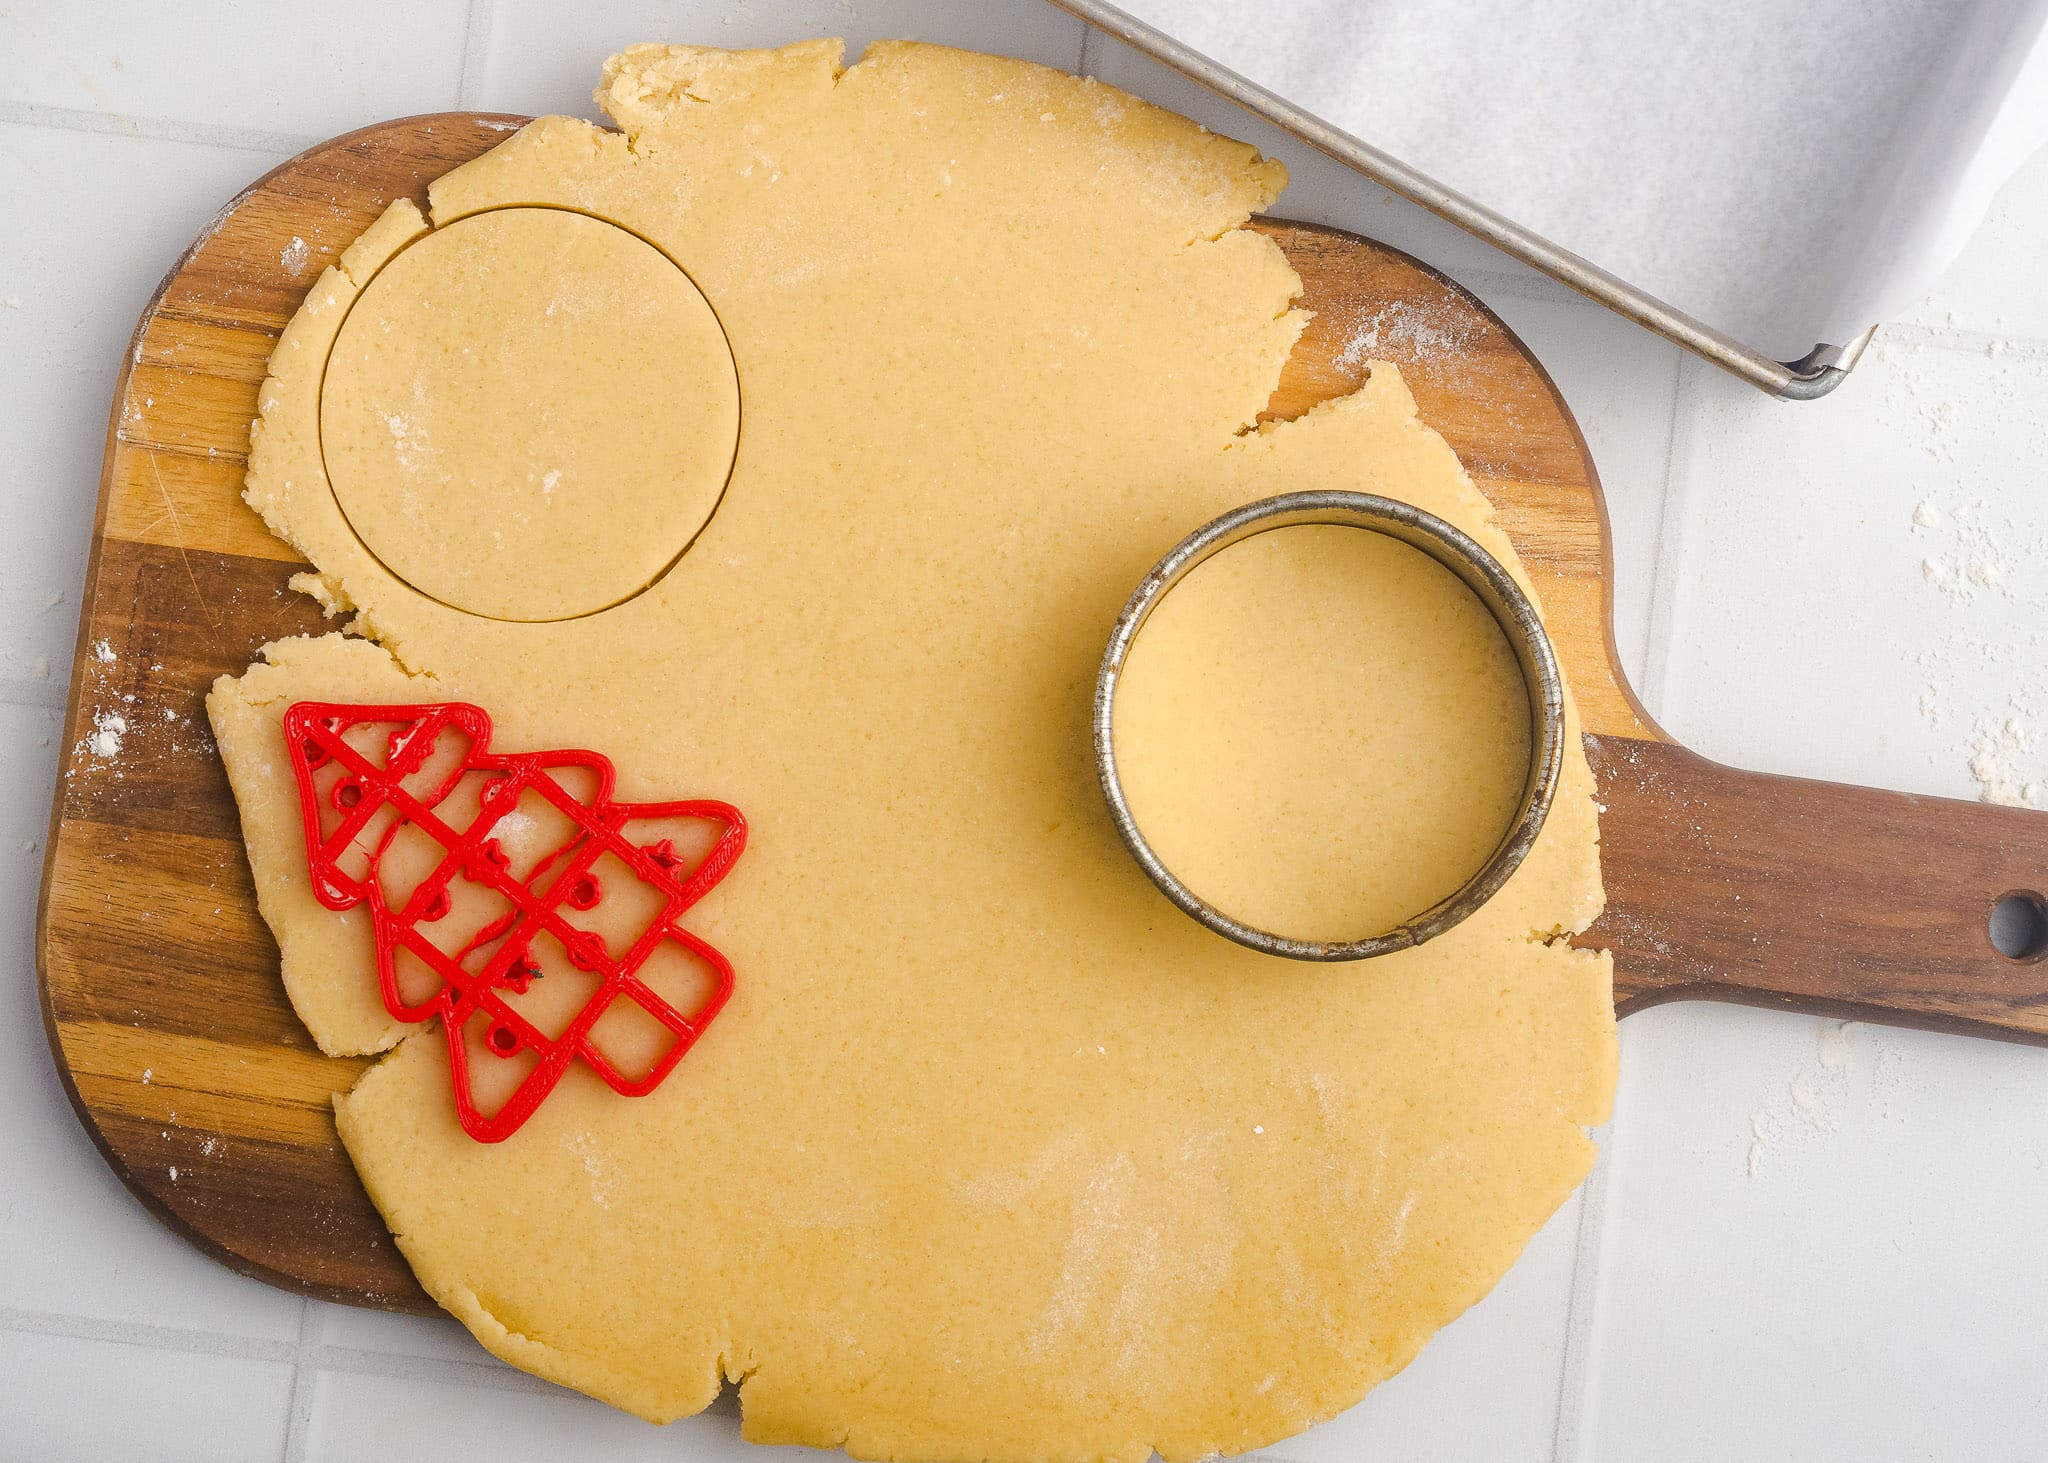
Roll and Cut: On a lightly floured surface, roll out the dough to about ¼-inch thickness. Use your Christmas tree cutters to cut out as many shapes as you can.
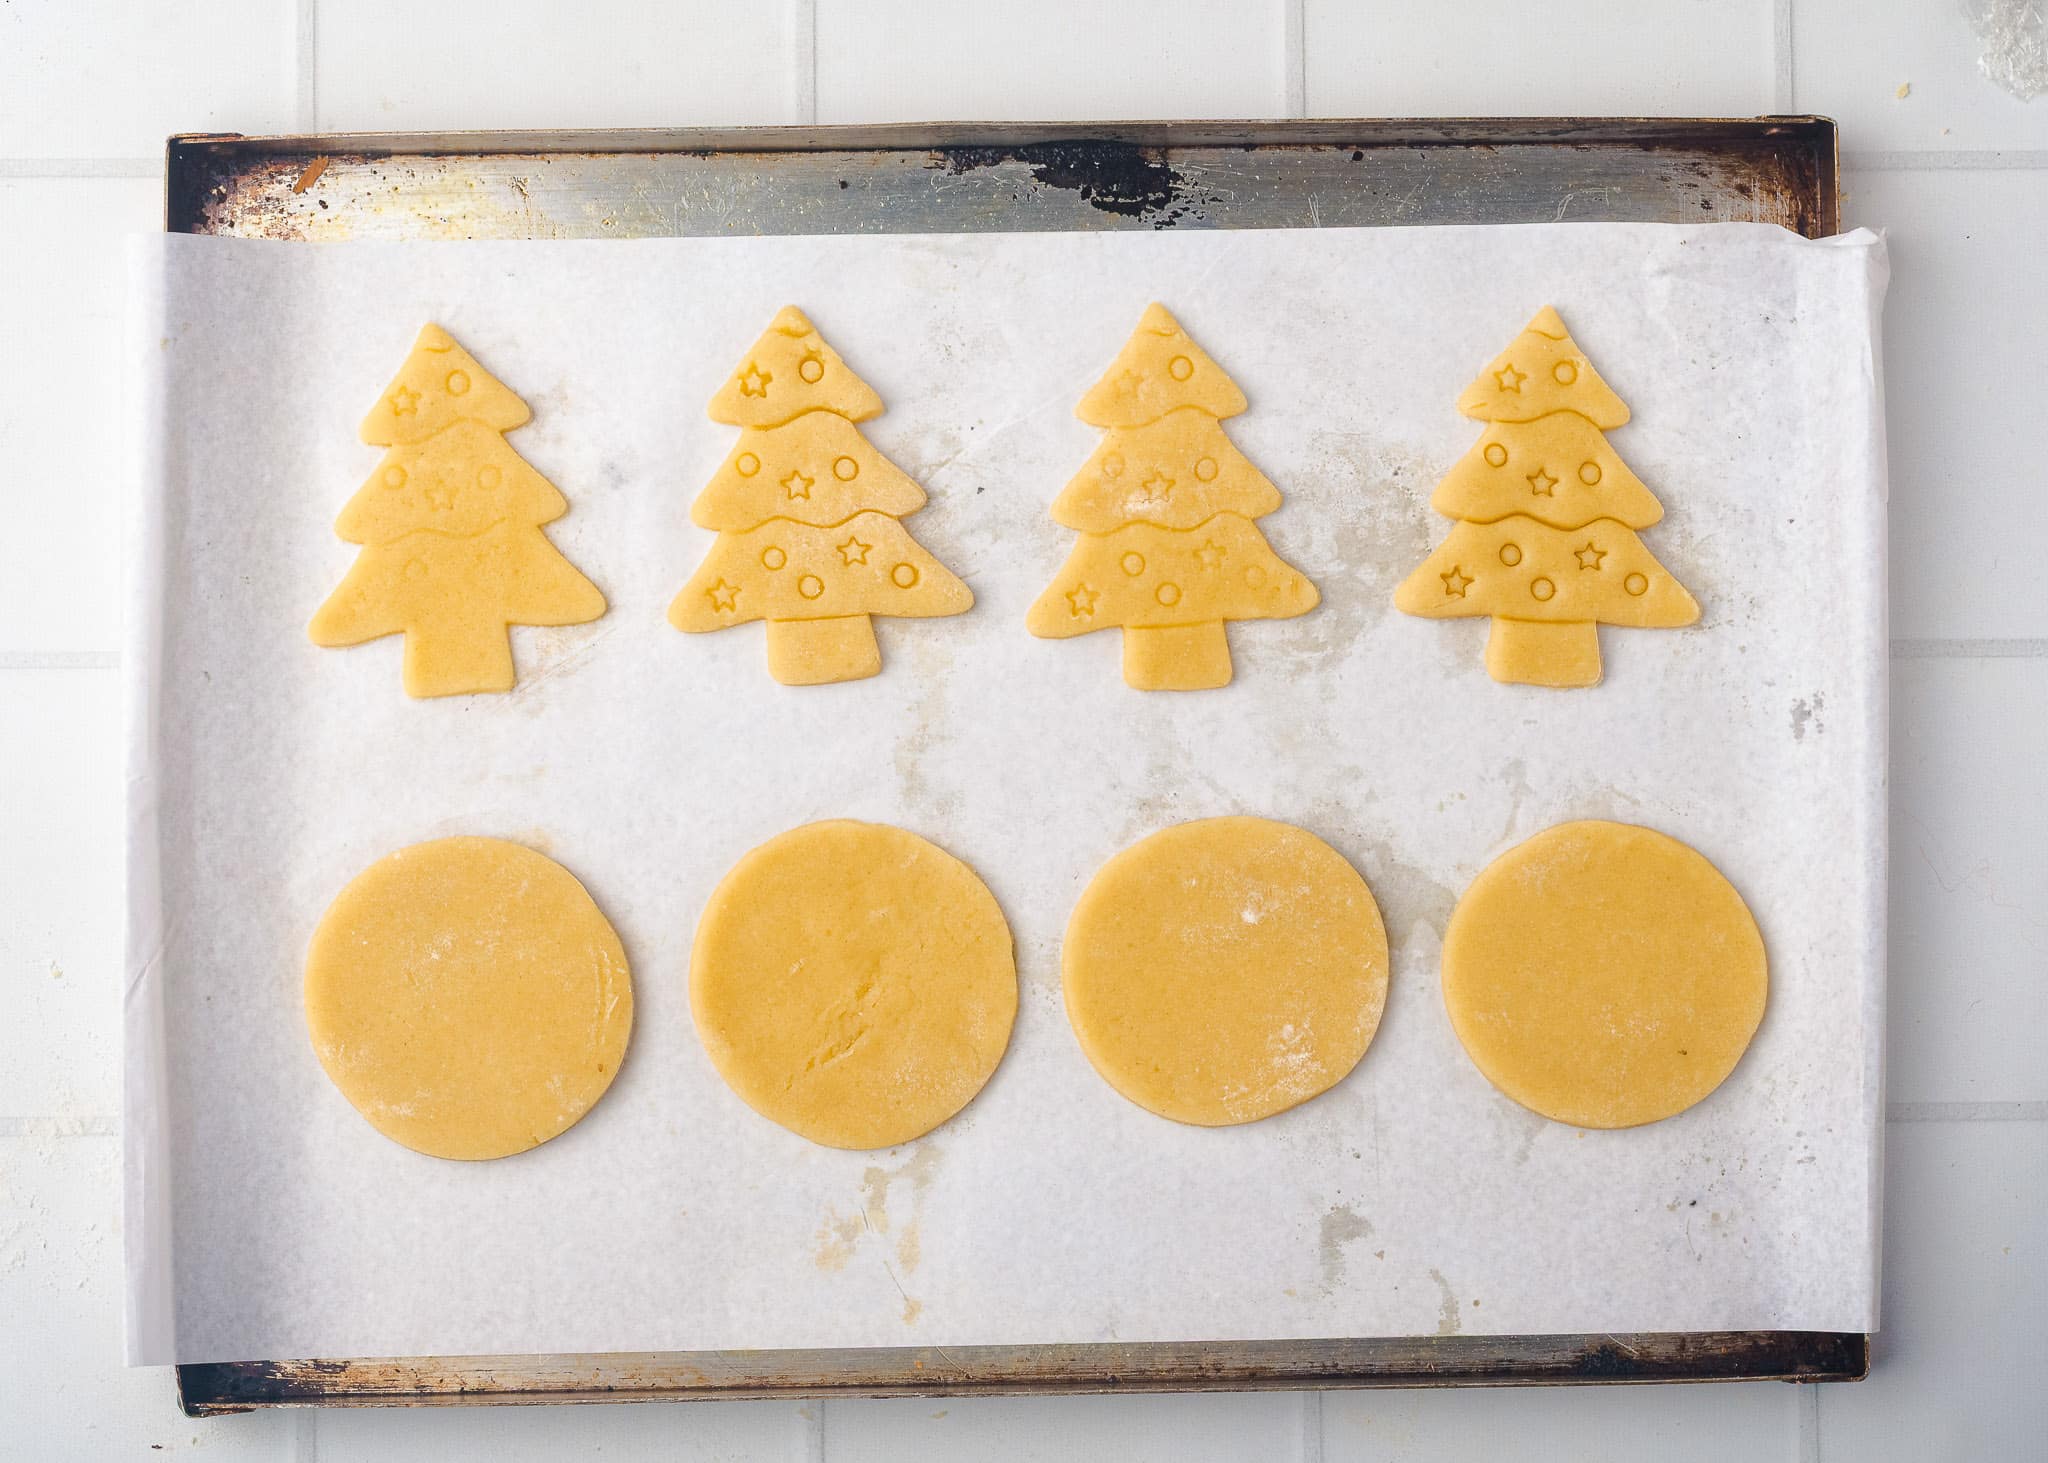
Chill the Shapes (Round 2): Place your cut-out trees on a parchment-lined baking sheet and put the whole tray back in the fridge for 15-20 minutes. (This is the “No-Spread” secret!).
Bake: Bake at 350°F (175°C) for 8-10 minutes. You want to pull them out when the edges are just set and very lightly golden.

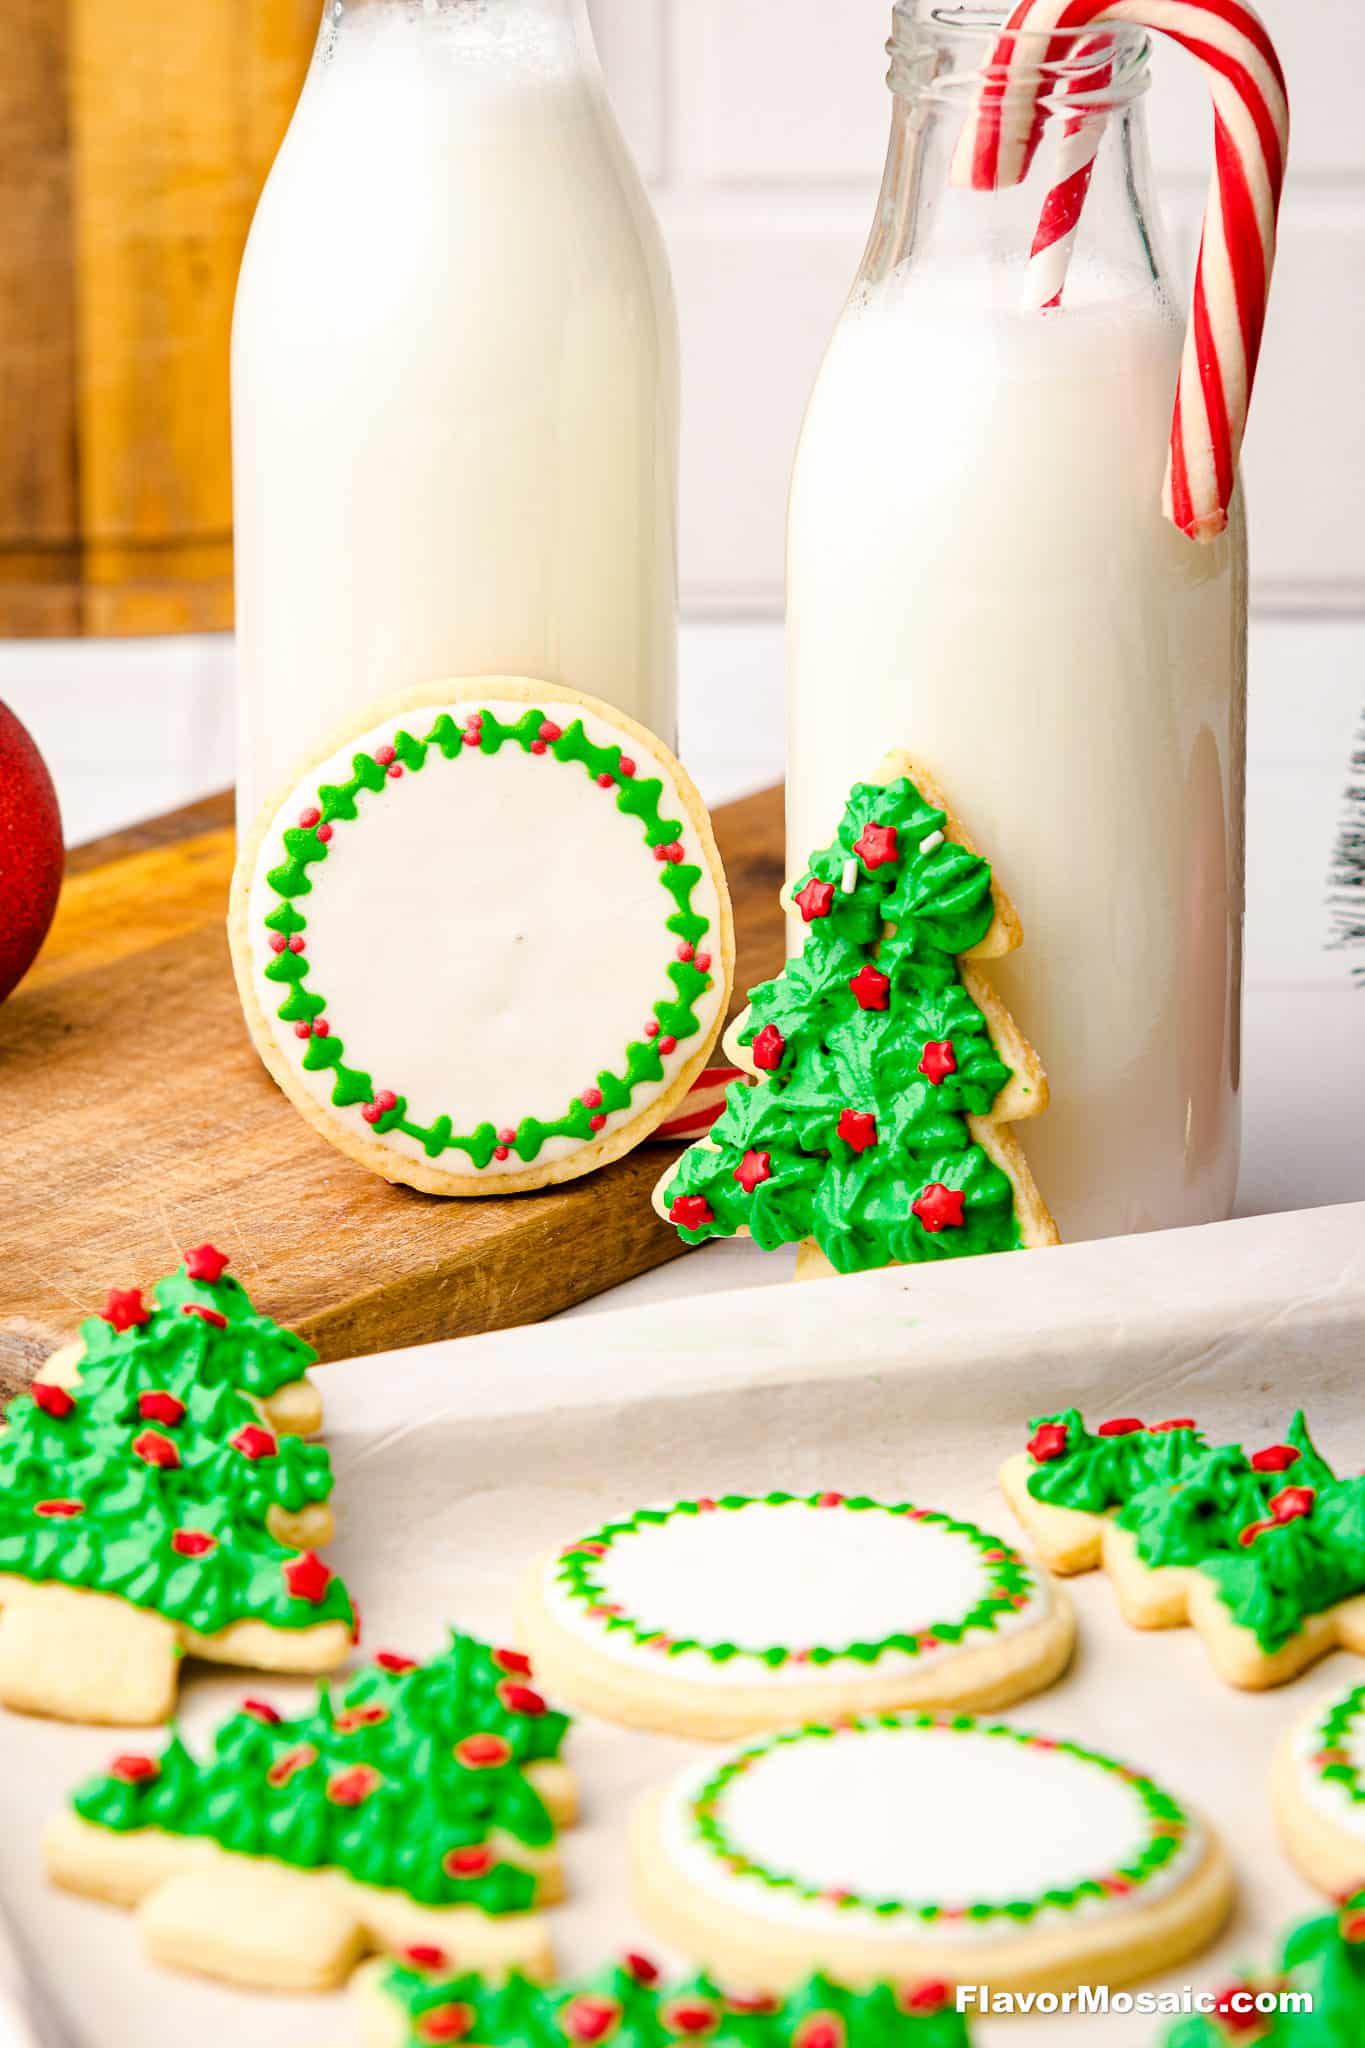
Decorate: Once the cookies are completely cool, whisk together the powdered sugar, egg white, and food coloring to make your icing. Pipe or spread it onto the trees and add your sprinkles immediately before the icing hardens.

Tips for No-Spread Success
- Measure Flour Correctly: Adding too much flour is the most common reason cookies turn out dry. I recommend using a kitchen scale for the most accuracy. If you don’t have one, fluff the flour with a spoon, gently sprinkle it into your measuring cup, and level it off with a knife (don’t scoop directly from the bag!).
- Don’t Skip the “Double Chill”: The real secret to keeping those tree branches sharp is cold butter. I chill the dough twice: once after mixing it to hydrate the flour, and again for about 15-20 minutes after cutting out the shapes. This ensures the butter is cold when it hits the oven.
- Roll It Evenly: A rolling pin with measurement rings can be a huge help to get the dough to a consistent thickness so all your trees bake at the same rate.
- Let Them Set: When you first pull the baking sheet out of the oven, the cookies will look very soft. Let them sit on the hot baking sheet for about 5 minutes. This helps them firm up so they don’t break when you move them to the cooling rack.
- Cool Before Decorating: I know it’s hard to wait, but make sure the cookies are completely cool before adding icing. If they are even a little warm, the royal icing will melt and slide right off.
Storage and Freezing Instructions
Since these cookies are sturdy, they store beautifully, which makes them perfect for making ahead!
- Decorated: You can freeze decorated cookies, but be careful. Make sure the icing is rock hard, and separate layers with wax paper. When thawing, take them out of the container before they thaw so condensation doesn’t ruin the icing.
- Store at Room Temperature: Once the icing has completely dried and hardened (this takes a few hours), you can stack the cookies in an airtight container. Place a sheet of parchment paper or wax paper between the layers to keep them looking perfect. They will stay fresh on the counter for 3 to 4 days.
- Freezing the Dough: If you want to get a head start, you can make the dough ahead of time! Wrap the dough disks tightly in plastic wrap and freeze them for up to 2 months. When you are ready to bake, just let them thaw in the fridge overnight before rolling.
Freezing Baked Cookies:
- Undecorated: This is actually my preferred way to prep for the holidays. Bake the trees, let them cool, and freeze them plain in a freezer-safe container. They will last for up to 3 months. Just thaw and decorate when you are ready!
- Decorated: You can freeze decorated cookies, but be careful. Make sure the icing is rock hard, and separate layers with wax paper. When thawing, take them out of the container before they thaw so condensation doesn’t ruin the icing.

How to Build a Festive Cookie Tray
These Christmas Tree Cookies are often the “star” of the show because of their height and color, but a great holiday cookie tray is all about variety! Here is how I like to build the perfect platter:
- Mix up the Textures: Since these sugar cookies are soft and smooth, I like to pair them with something crunchy or crumbly. My Mexican Wedding Cookies are a perfect contrast (and they look like snowballs!).
- Add Some Chocolate: You need something for the chocolate lovers! My Christmas Tree Brownies fit the theme perfectly, or you could add a classic crinkle cookie to the mix.
- Don’t Forget the Savory: If you are hosting a party, you don’t want everything to be sweet. I love placing my Christmas Tree Charcuterie Board on the table right next to the cookie tray so guests can graze on cheese and crackers between sweets.
- The Ultimate Collection: If you need more ideas to fill out your boxes, check out my full list of 20 Easy Homemade Christmas Cookies. From thumbprints to snowballs, you’ll find plenty of inspiration there.
What to Drink? Of course, you can’t have sugar cookies without something for dunking! These pair perfectly with a cold glass of milk, a hot cup of coffee, or a rich, homemade hot cocoa.
Frequently Asked Questions (FAQs)
Absolutely! This is one of the best Make-ahead holiday recipes. You can make the dough days (or months) in advance, or bake the cookies and freeze them until you are ready to have a decorating party.
Of course you an, but please keep in mind that store-bought tub frosting stays soft and sticky. It won’t dry hard like royal icing does. If you use tub frosting, you won’t be able to stack the cookies in a tin without them squishing each other.
Royal Icing is sensitive to humidity!
* Too Thick? Add water or lemon juice one drop at a time until it loosens up.
* Too Runny? Sift in a little more powdered sugar until it holds its shape.
No problem! You can easily use a hand mixer for the butter and sugar. It just might take a minute or two longer to get that fluffy texture.
Ready to Bake?
I love seeing what you create in your own kitchens! If you try this Christmas Tree Cookie recipe, please leave a 5-star rating and a comment below to let me know how they turned out.
And if you snap a photo, tag @flavormosaic on Instagram! I love seeing your baking wins. Now go ahead and grab your apron and let's make some holiday magic!
Recipe

Ingredients
For the Cookies
- 160 grams (5.6 oz. or 1 stick & 3 1/3 Tbsp) unsalted butter, softened
- 170 grams (3/4 cup + 2 tsp) granulated sugar
- 2 small eggs
- 1 tsp vanilla extract
- 300 grams (2 1/2 cups) all-purpose flour
- ½ tsp baking powder
- Pinch of salt
For the Royal Icing
- 225 grams (2 cups) powdered sugar, sifted
- 1 egg white
- Food coloring of choice
- Optional: 1-2 tsp lemon juice (to thin the icing and add brightness)
Instructions
For the Cookies:
- Cream Butter and Sugar: In a large bowl, beat together the softened butter and granulated sugar until light and fluffy.160 grams (5.6 oz. or 1 stick & 3 1/3 Tbsp) unsalted butter, softened, 170 grams (3/4 cup + 2 tsp) granulated sugar
- Add Wet Ingredients: Beat in the eggs, then add the vanilla extract. Mix until smooth.2 small eggs, 1 tsp vanilla extract
- Add Dry Ingredients: Sift together the flour, baking powder, and salt. Gradually add this mixture into the wet ingredients, mixing until just combined. Do not overmix.300 grams (2 1/2 cups) all-purpose flour, ½ tsp baking powder, Pinch of salt
- Chill Dough: Divide the dough into two equal parts. Flatten each slightly into a disk, wrap in plastic wrap, and refrigerate for at least 3 hours.
- Roll and Cut: On a lightly floured surface, roll out one disk at a time to about 0.5 cm (¼ inch) thickness. Cut with Christmas cookie cutters.
- Pre-Chill Before Baking: Place the cut-out cookies on a lined baking sheet and refrigerate for another 15-20 minutes. This helps prevent spreading.
- Bake: Preheat oven to 350°F (175°C). Bake cookies for 8-10 minutes, checking at 8 minutes as oven temperatures vary. The edges should look just set and very lightly golden.
- Cool: Allow cookies to cool completely on a wire rack before decorating.
For the Royal Icing:
- Mix: In a clean bowl, sift powdered sugar. Add the egg white and whisk until smooth and glossy.225 grams (2 cups) powdered sugar, sifted, 1 egg white
- Adjust Consistency: For firmer icing (ideal for piping details and outlines): add more powdered sugar until it holds its shape.
- For runnier icing (better for flooding or spreading over cookies): add a few drops of lemon juice until you reach the desired flow.Optional: 1-2 tsp lemon juice
- Color & Decorate: Divide icing into bowls and tint with food coloring. Pipe or spread over cooled cookies. Let set completely before stacking or storing.Food coloring of choice

Hi, I’m Michele Feuerborn, a home cook with 25+ years experience, and former AllRecipes Allstar, creating bold & easy Southern, Mexican, Tex-Mex, and Instant Pot recipes. Featured in publications like Parade and BuzzFeed. Read More…

Comments
No Comments