
This post may contain affiliate links. Please read our disclosure policy.
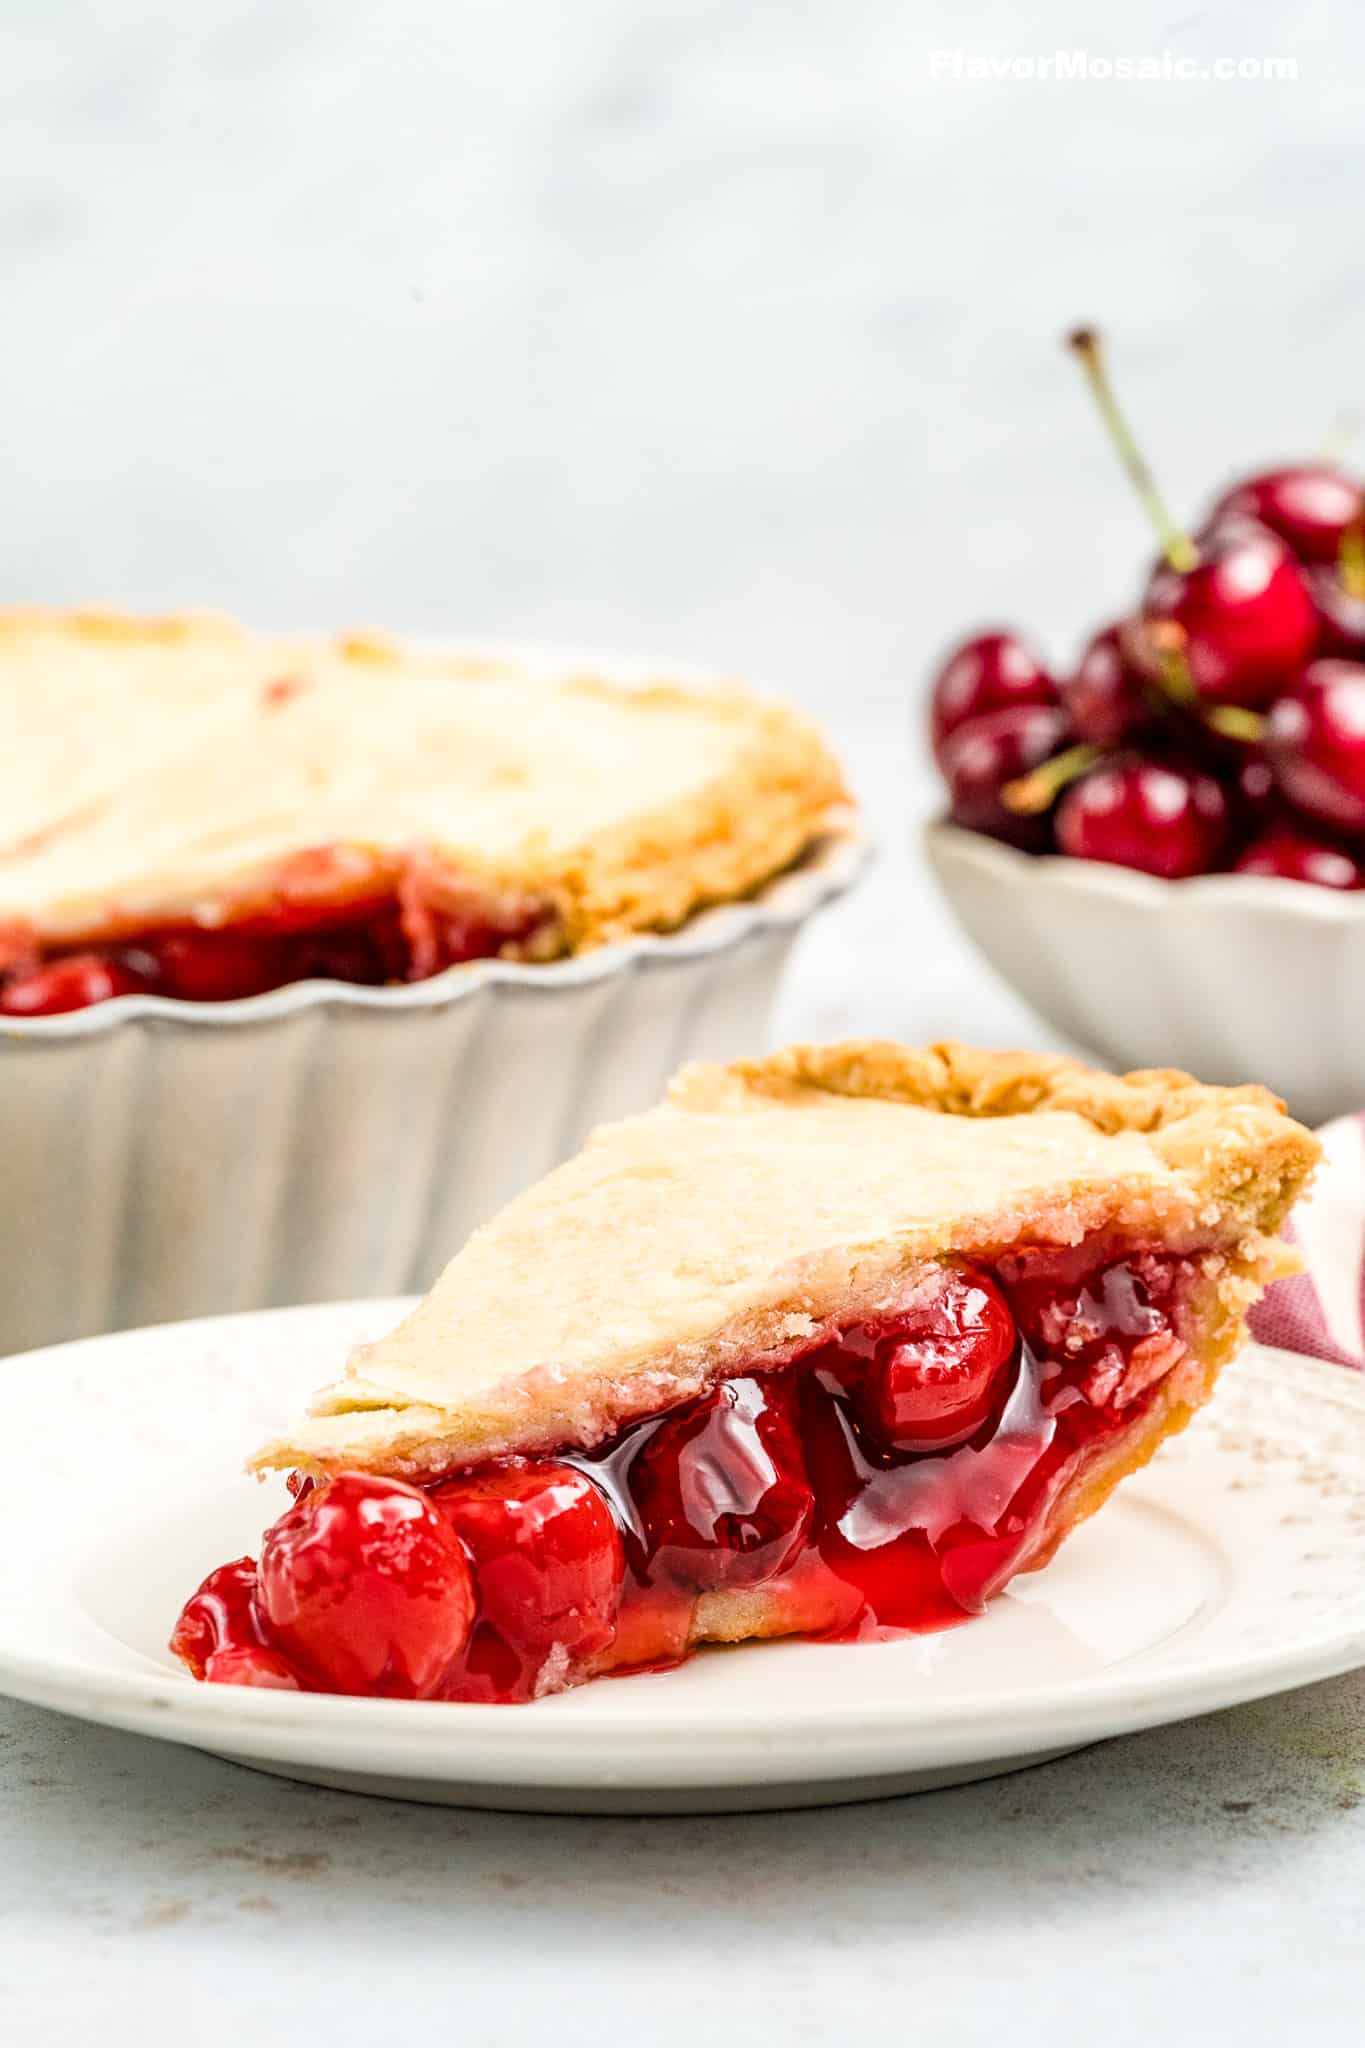
Craving an impressive dessert that’s surprisingly easy to make? This Cherry Almond Pie is your answer. With a golden, flaky crust and a glossy cherry filling kissed with almond extract, it's a crowd-pleaser that looks like it came from a bakery window-but takes just minutes to assemble.
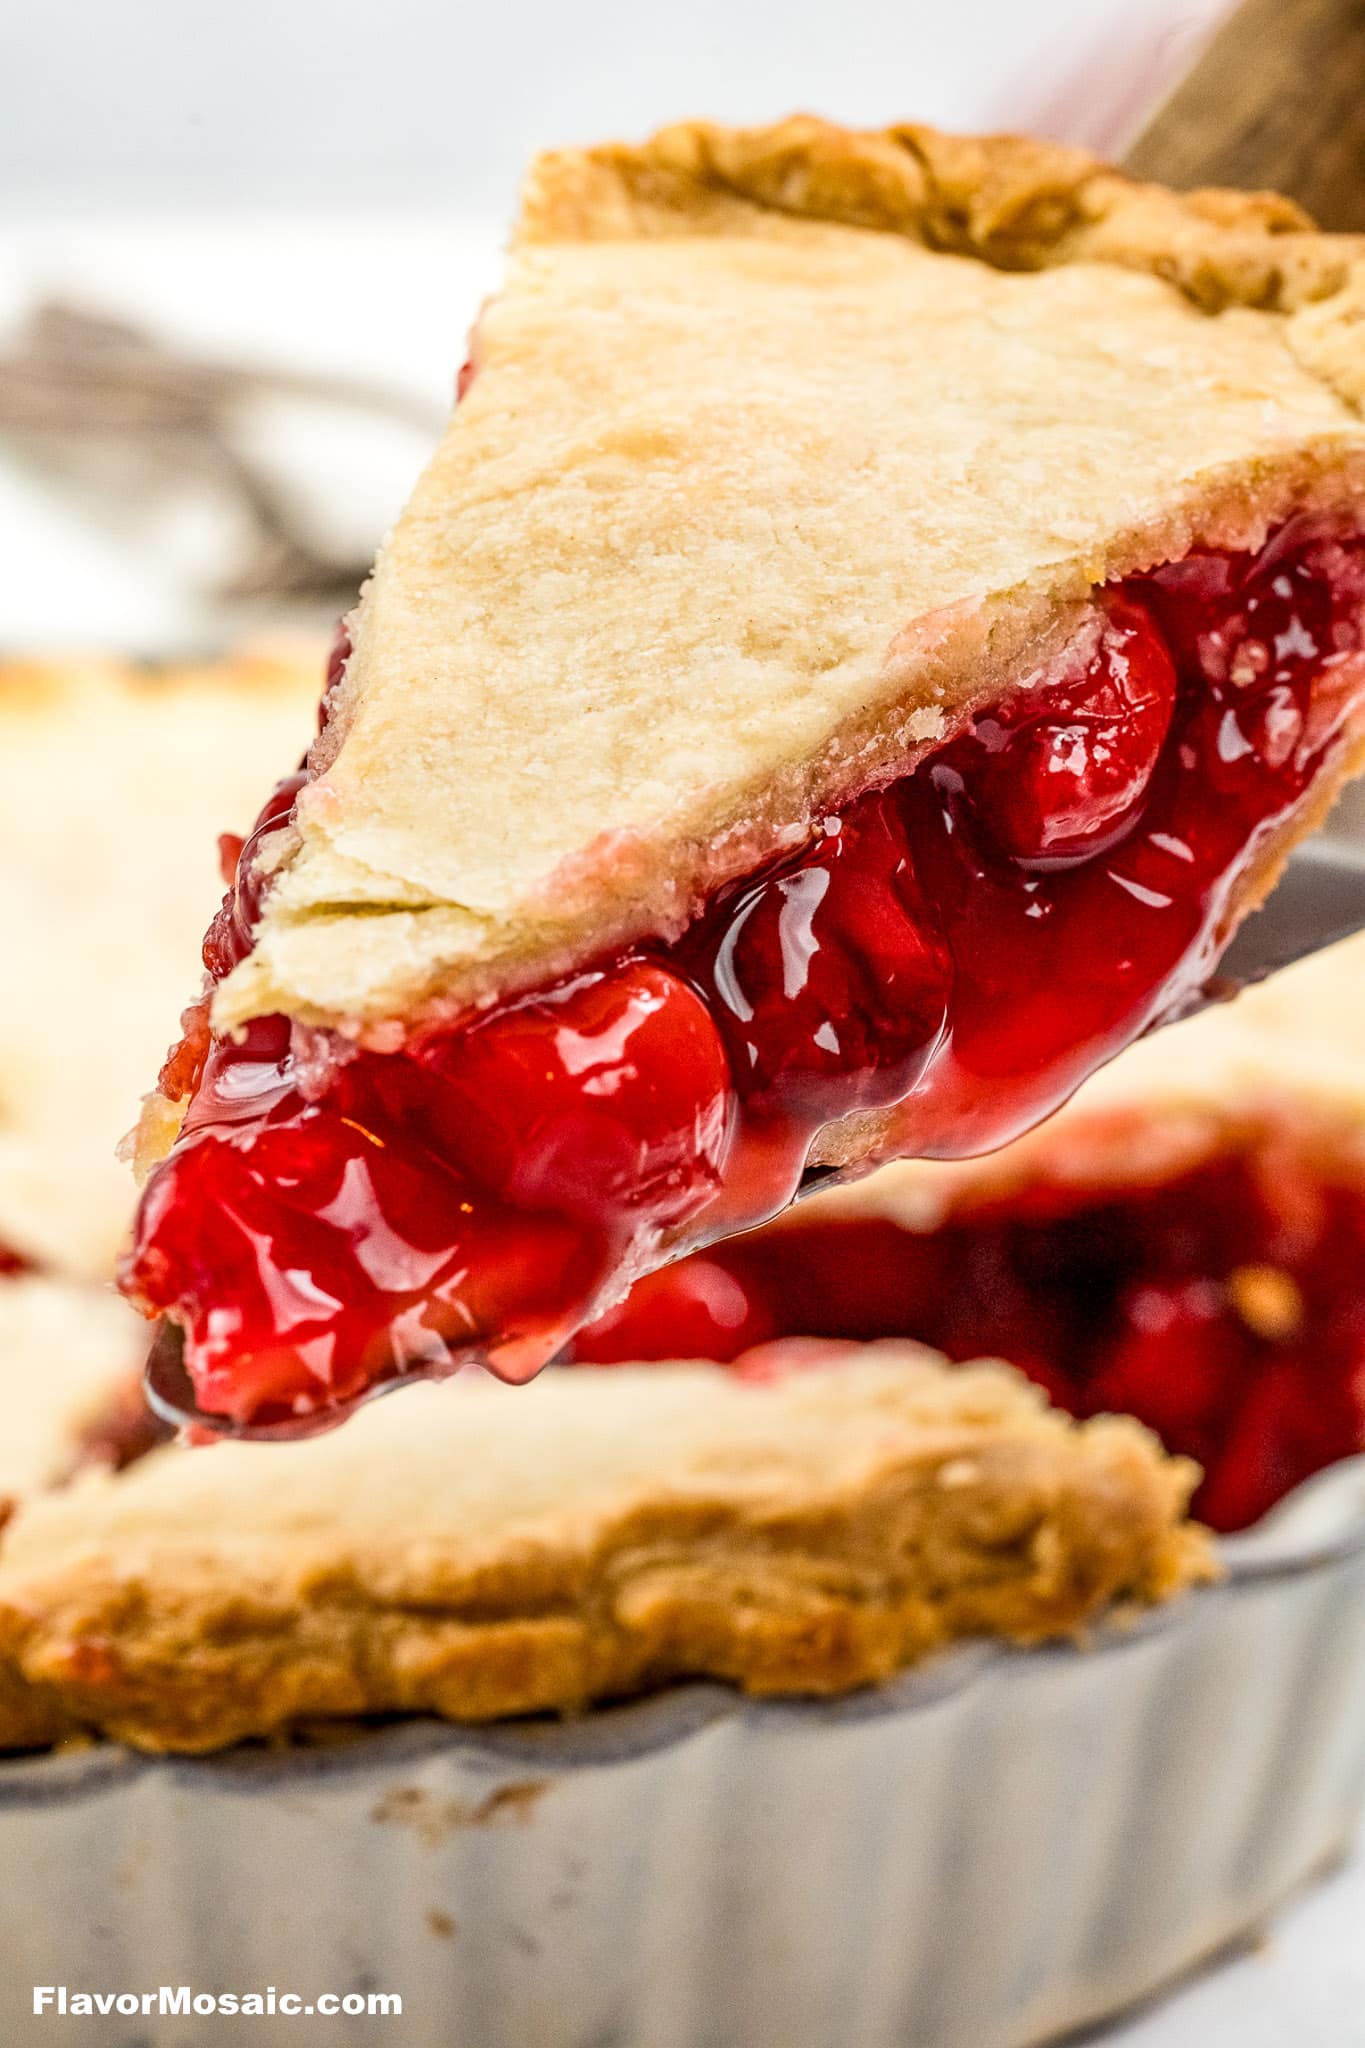
Whether you're baking for a holiday, a potluck, or just because, this easy cherry almond pie recipe brings big flavor with minimal fuss.
🍒 Quick Snapshot
Yields: 8 slices
Prep time: 10 minutes
Cook time: 50 minutes
Total time: ~1 hour
❤️ Why You'll Love This Pie
🥧 Shortcut-Friendly: Store-bought crust + canned cherry pie filling = max flavor, minimum effort.
🍒 Bright Cherry Flavor: Two cans of dark sweet cherry pie filling bring vibrant color and tangy-sweet goodness.
🎉 Perfect for Parties: It's elegant enough for holidays but simple enough for weeknight cravings.
🌰 Almond Twist: Almond extract adds bakery-style flavor without the work.
📷 Instagram-Worthy: That golden lattice crust? Gorgeous.
🛒 Ingredient Notes & Substitutions
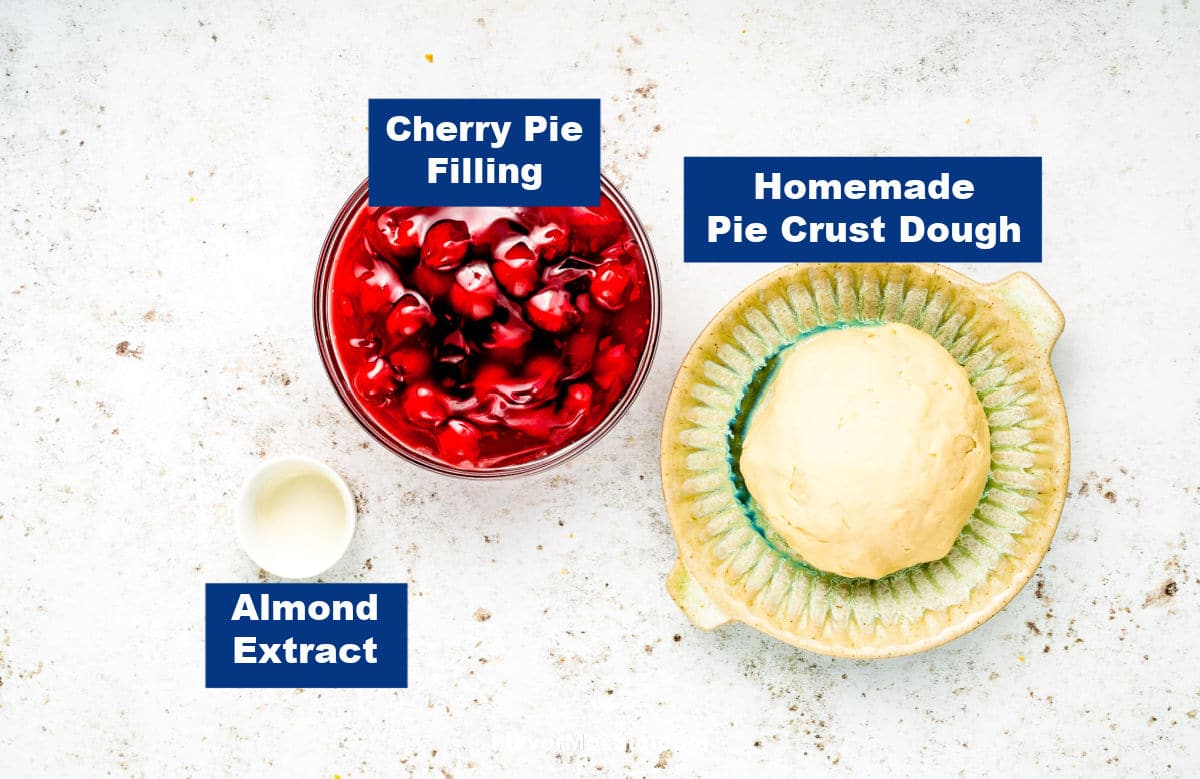
You only need a few pantry staples to make this pie magic happen:
- Refrigerated pie crusts: Use one package (two crusts). One goes on the bottom, one for the lattice top. Homemade crust works too-here's my Homemade Pie Crust recipe.
- Cherry pie filling: Two 21-ounce cans of dark sweet cherry pie filling work best. They’re perfectly gooey and flavorful.
- Almond extract: Just a teaspoon gives this pie its signature cherry-almond bakery vibe.
- Butter: 1 tablespoon, dotted over the filling before adding the top crust-adds richness.
- Egg wash: 1 egg beaten with a splash of milk makes the crust golden and shiny.
- Coarse sugar (optional): Sprinkle on top for sparkle and crunch.
🔁 Substitutions: Use vanilla extract if you're out of almond. Or swap in one can of peach filling for a cherry-peach twist.
🧂 Want more crunch? Toss sliced almonds on top in the last 10 minutes of baking.
🧰 Essential Equipment
- 9-inch pie plate
- Small mixing bowl (for egg wash)
- Pastry brush
- Knife or pizza cutter (for lattice strips)
- Foil or pie crust shield (to protect edges)
📸 Step-by-Step: How To Make Cherry Almond Pie
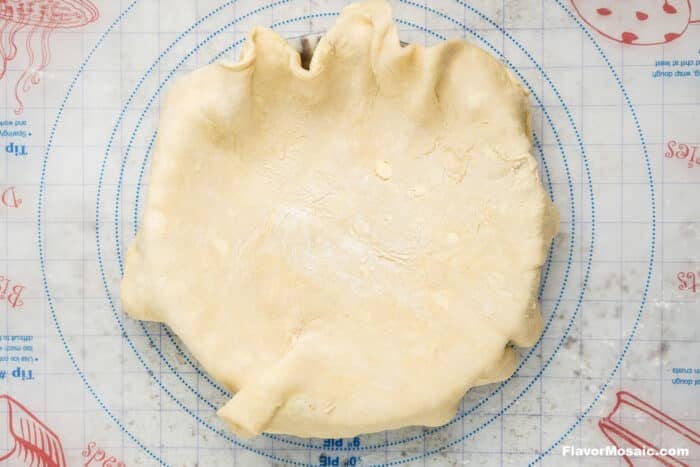
- Step 1: Prep your crust: Let refrigerated crusts come to room temp. Press one crust into a 9-inch pie plate.
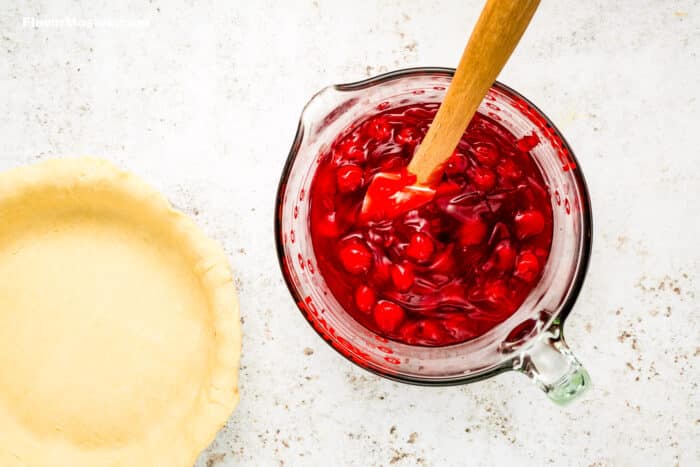
- Step 2: Stir almond extract into the cherry pie filling. Pour into crust. Add the butter: Dot 1 tablespoon of butter over the filling before adding the top crust.

- Step 3: Add Top Crust: Lay the second crust as a full top (cut slits to vent). Trim any excess dough. Crimp edges to seal. Brush with egg wash and sprinkle with coarse sugar, if desired.

- Step 4: Bake: At 375°F for 45 to 50 minutes, until golden brown and bubbling.
🧊Pro Tip: Let the pie cool completely before slicing to allow the filling to set-trust me, it's worth the wait.

🧑🍳 Pro Tips for Success
- Prevent soggy crust: Bake on the lower oven rack and use a foil-lined baking sheet underneath to catch drips.
- Don't rush the cooling: Let the pie rest at least 2 hours before slicing to avoid a runny mess.
- Shield the crust: If the edges brown too quickly, cover them with foil or a pie shield halfway through.
🛠️ Troubleshooting Common Issues
- Filling too runny?
Cutting in too early means cherry soup. Chill it for cleaner slices. - To prevent cracks or shrinking, let dough warm up slightly before unrolling. Also, avoid stretching it into the pie plate; instead, let it settle naturally.
- Burning edges?
Tent with foil or use a pie shield once the crust is golden.
🔄 Variations & Add-Ins
- Swap lattice for streusel topping to turn it into a cherry crumble pie.
- Add sliced almonds on top during the last 10 minutes of baking.
- Sprinkle a touch of cinnamon or nutmeg into the cherry filling for a warm twist.
🍽️ Serving Suggestions
- Serve warm with a scoop of vanilla ice cream.
- Or chill and top with whipped cream and a cherry on top.
- Feeling fancy? Drizzle with melted dark chocolate for a cherry cordial vibe.
❓FAQs
Yes! You'll need about 5 cups (roughly 42 ounces) of homemade filling to replace the canned version
Sure-just make sure it's fully thawed before filling and baking.
Cover and store at room temp for 1-2 days or refrigerate for up to 5 days. You can also freeze for longer storage.
Absolutely! It's great baked the day before and served chilled or at room temperature.
🧠 Expert Tip
A little goes a long way-one teaspoon of almond extract is plenty to give this pie its signature flavor without overpowering the cherries.
📲 Join the Flavor Mosaic Community!
Tried this recipe? Tag me on Instagram @flavormosaic or use the hashtag #FlavorMosaicBakes-I'd love to see your pie masterpiece!
Don't forget to rate the recipe below and leave a comment. Your feedback helps more readers discover this pie!
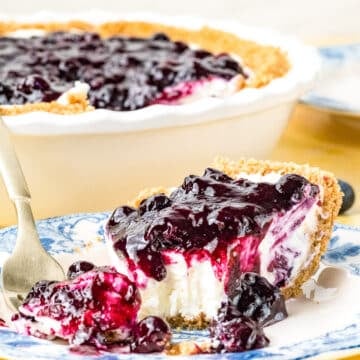
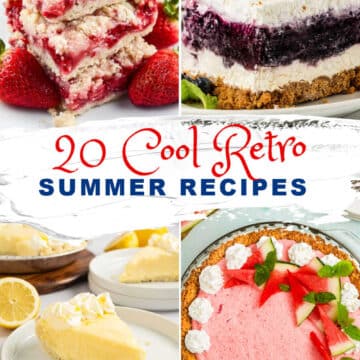
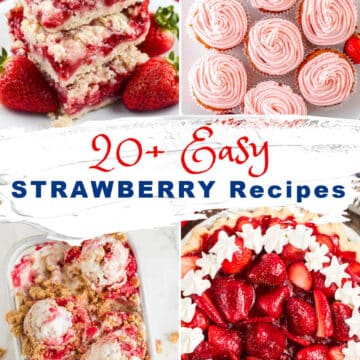
🍰 More Pie & Dessert Favorites
📊 Nutrition Information
Nutritional data in the recipe card below is an estimate and will vary based on ingredient brands and portion size.
Recipe
Cherry Almond Pie Recipe

Equipment
Ingredients
- 2 (21-ounce cans) cherry pie filling
- 1/2 teaspoon almond extract
- 1 package double pie crust (store-bought or homemade)
Instructions
- Preheat the oven to 400°F (200°C).
- In a medium bowl, stir together the cherry pie filling and almond extract until well combined.
- Unroll or roll out one pie crust (according to pie dough recipe) and place it into a 9-inch pie plate. Gently press it into the bottom and sides.
- Pour the cherry filling into the prepared crust and spread it evenly.
- Top with the second crust-either as a full crust with slits for venting or cut into strips for a lattice design. Trim any excess dough and crimp the edges to seal.
- Bake for 40-45 minutes, or until the crust is golden brown and the filling is bubbling. If the edges brown too quickly, cover them loosely with foil.
- Let the pie cool for at least 2 hours before slicing to allow the filling to set.
- Storage Store leftover pie covered at room temperature for up to 2 days or in the refrigerator for up to 4 days. Reheat slices gently if desired.

Hi, I’m Michele Feuerborn, a home cook with 25+ years experience, and former AllRecipes Allstar, creating bold & easy Southern, Mexican, Tex-Mex, and Instant Pot recipes. Featured in publications like Parade and BuzzFeed. Read More…
Comments
No Comments